DIY Aged Vase: Transform any Vase into a Timeless Piece
Transform your old or new vase into a stunning piece that will catch everyone’s eye! This DIY tutorial will guide you through creating a unique and affordable DIY-aged vase that looks vintage. Get ready to impress your friends and family with your newfound creativity!
This post is about a DIY-aged vase.
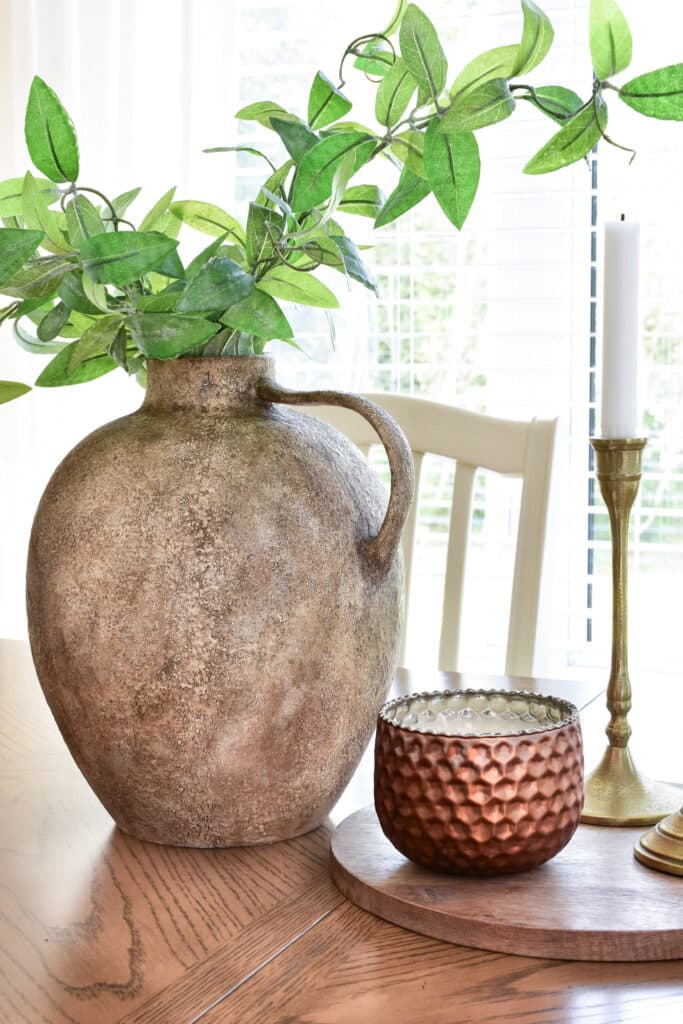
I am captivated by the timeless beauty of vintage vases, and I love how they add charm to any living space. However, as much as I appreciate their unique appeal, finding a budget-friendly alternative to help me achieve the same look for less is always fun.
As I walked through the aisles of Home Sense, my eyes were drawn to some plain yet elegant vases and vessels. They looked perfect for this project. I could envision transforming them and couldn’t wait to start!
This process is straightforward and satisfying, resulting in a unique DIY-aged vase you can be proud of.
DIY Aged Vase: Step-by-Step Tutorial
In this tutorial, you will find step-by-step instructions on creating your aged vase from scratch. It’s important to note that each vase will be unique due to its structure, paint, and dabbing technique. The purpose of this project is to create a one-of-a-kind masterpiece that is exclusive to you. So, enjoy the process and have fun with it!
What you’ll need:
- Any vase
- Behr Antique Wax
- Paint (I used Benjamin Moore Collingwood)
- Paper Towels
- Paint Brushes
- Baking Soda
Note: As the vase was already a light color and textured, the first step was unnecessary in this makeover.
Step 1: Add Texture to the Vase
Mix your light paint color with baking soda to make your vase look textured. If your vase is already light and textured, skip this step.
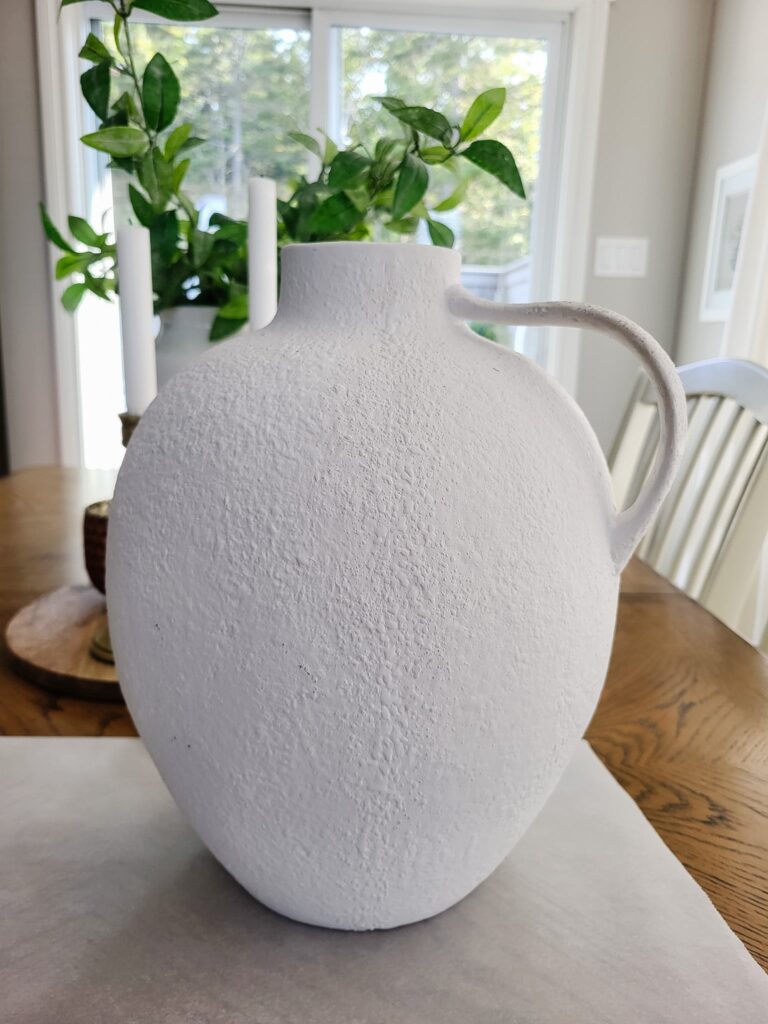
Step 2: Add Antique Wax
When applying antique wax to the vessel, use a paper towel to dab it gently in layers as it darkens with each application.
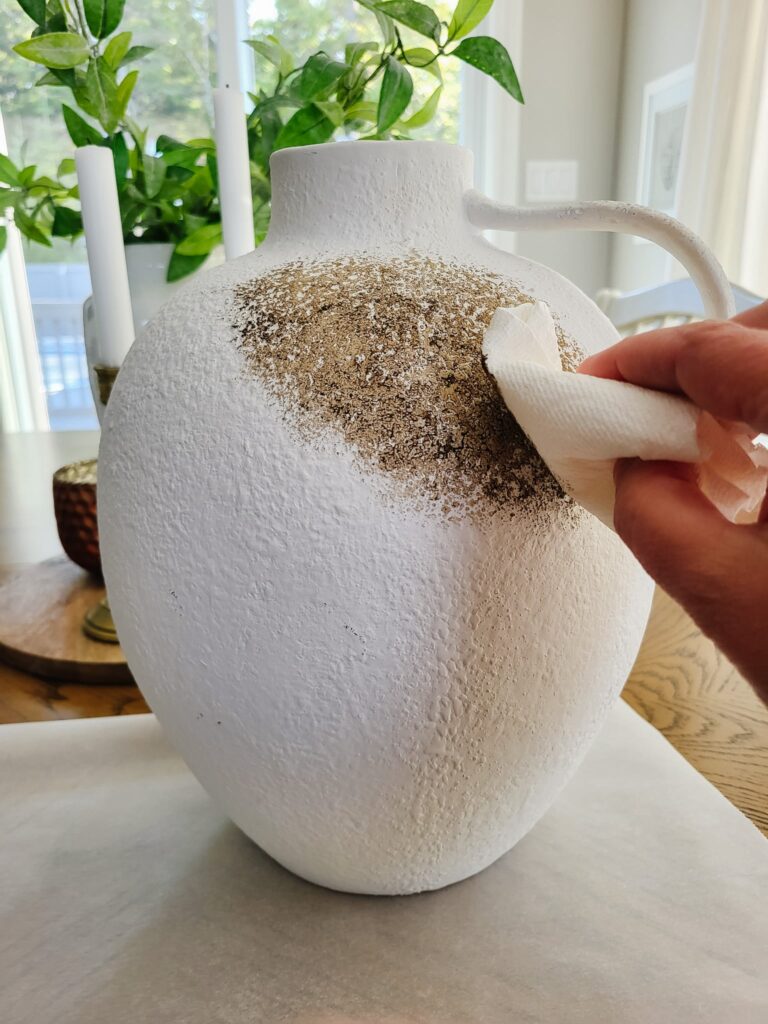
Step 3: Add Light Color Paint
To add some depth to the vase, use the light paint color and dab it sporadically with a paper towel. Before it dries completely, use a brush to lightly pat some of the antique wax over the light paint to blend.
I only had our main living area paint color on hand. You can use craft paint at this stage with many color options.
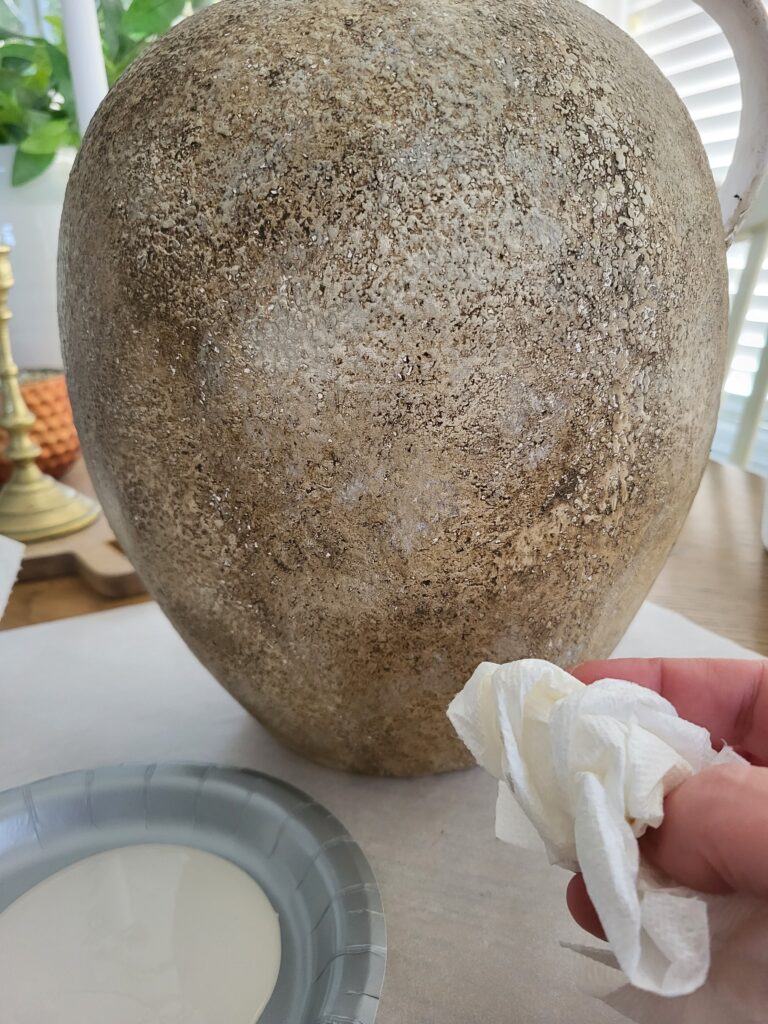
Step 4: Add a Dark Color Paint or Wax
For this stage, you can apply black paint, but in my case, I decided to use the same antique wax instead. Your objective is to apply the darker color around the vase’s mouth, any handles it may have, and any other area that will create a sense of depth and dimension.
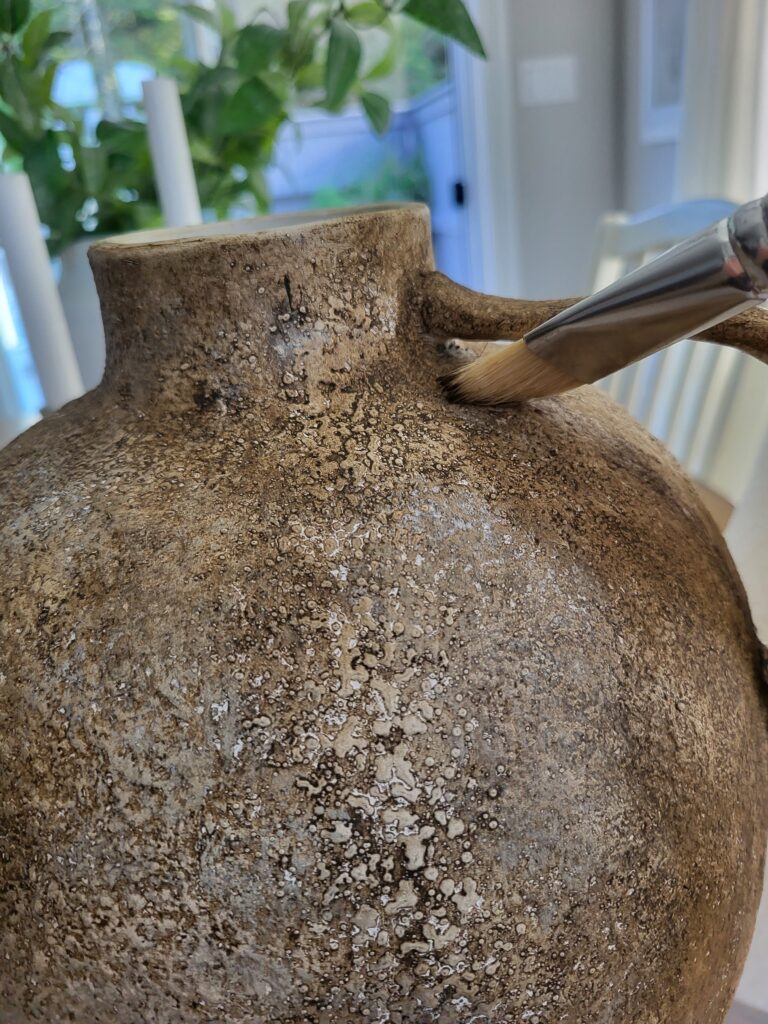
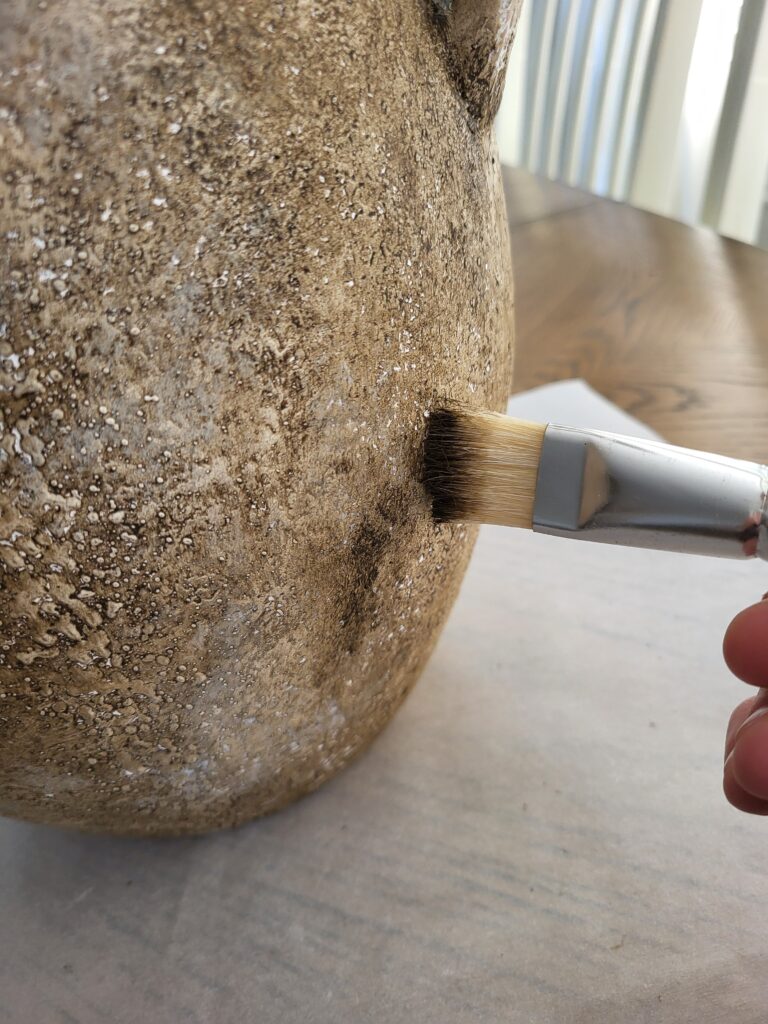
DIY Aged Vase Before & After
I am thrilled with my first attempt at this DIY project. The technique looks amazing, and I look forward to trying it on other items. It took me less than an hour to complete, and the material was dry in just a few hours.
You might consider using a matte varnish spray as a protective finish, especially if you plan to keep the vase outdoors.

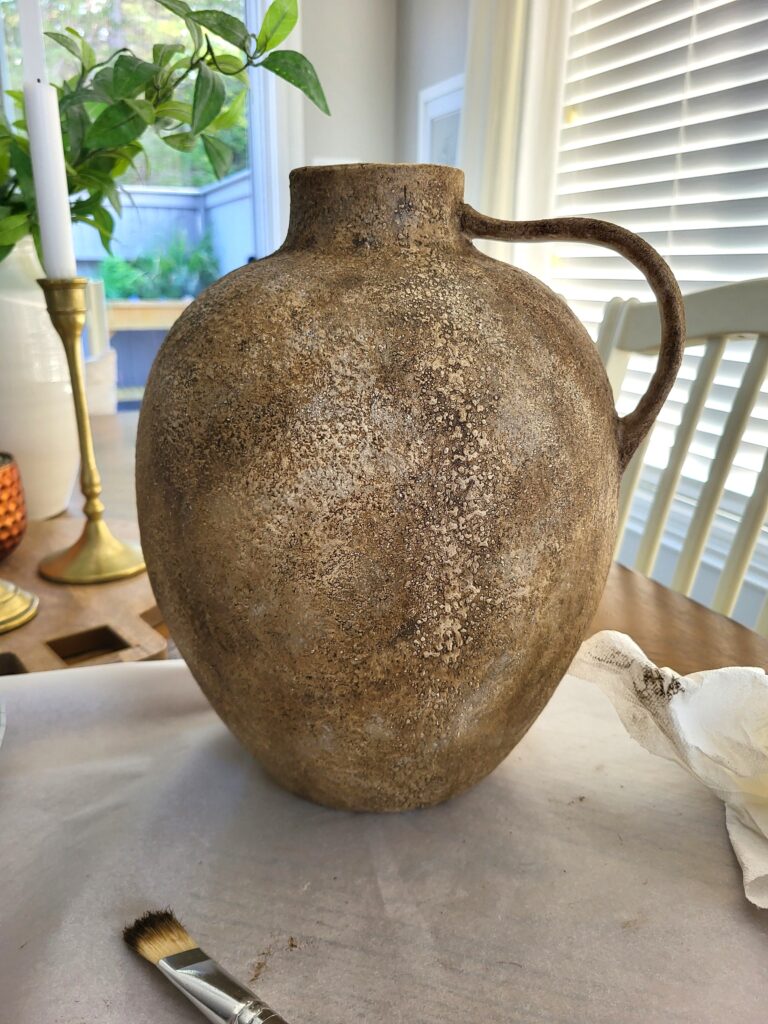
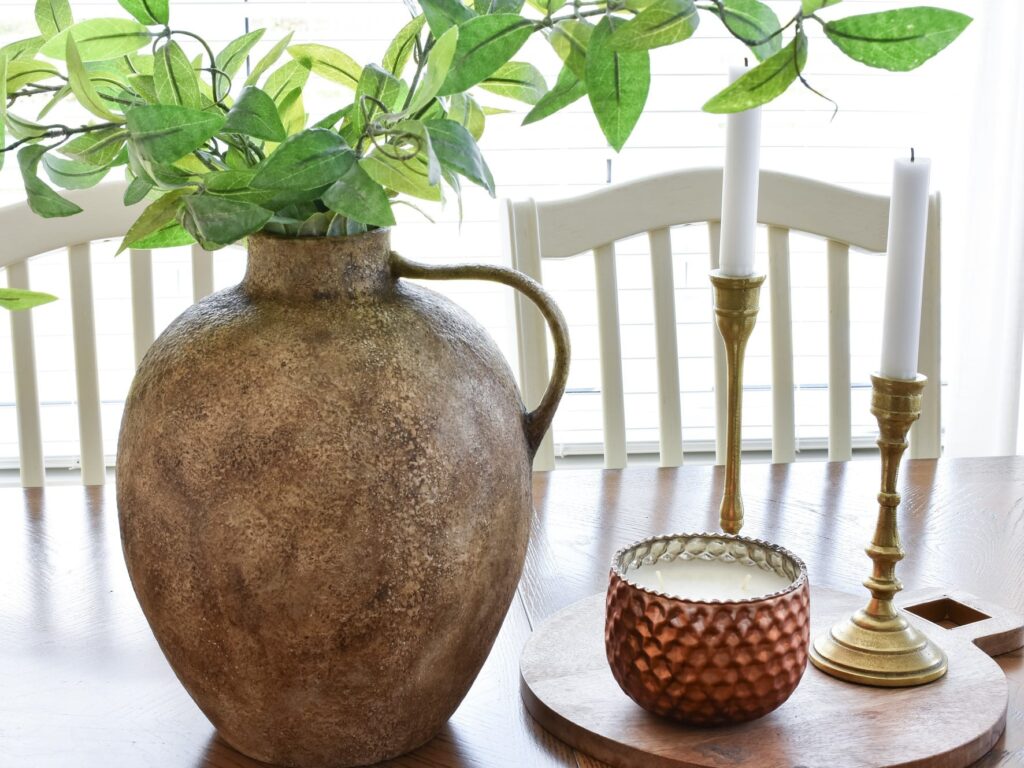
Styled DIY Aged Vase
For now, this vase sits on my dining table. I am sure it will get moved around like many other decor items in our home. That is the beauty of decorating; you can easily change the look of your space with the existing decor in your home.
I am curious if you would be interested in trying out this project. If so, please leave a comment!
Our Favorite
Styling Tips

