Create an Elegant Room with DIY Board and Batten Walls
If you’re looking to add a touch of elegance to any room, consider creating a DIY board and batten feature wall. In this tutorial, we’ll be showcasing our first project in our primary bedroom makeover.
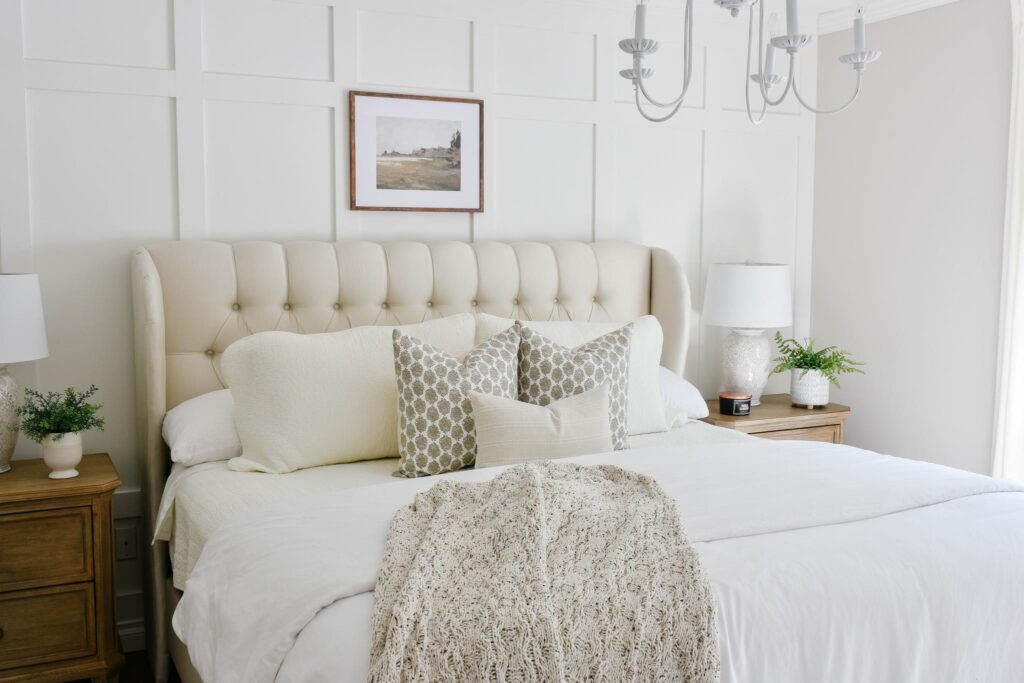
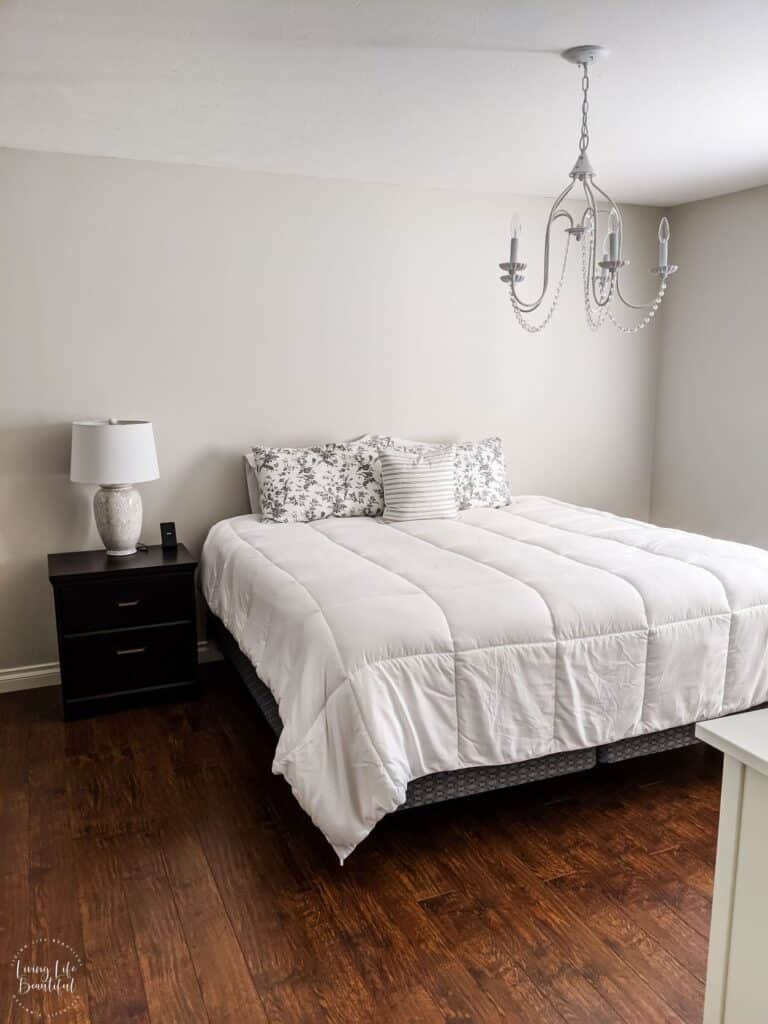
When we bought our house, the main bedroom used to be a nursery. We painted it quickly and settled in with what we had. The paint we chose for our main bedroom is Benjamin Moore Pale Oak.
We had been planning to upgrade to a king-sized mattress for a while, and when the day finally arrived, we decided to make the most of it by incorporating a board and batten feature wall into our primary bedroom renovation.
There are various designs available for board and batten paneling styles. You can browse through Pinterest to get some ideas. Personally, I had a clear idea of what I wanted and Roger is an expert in bringing my design concepts to life. I am grateful for his assistance in tackling these extensive DIY projects.
How to Create a DIY Board & Batten Feature Wall
Supplies needed:
- 1×4 primed MDF Board
- 1×8 primed MDF Board (top & bottom – you can use 1×4 on the top if you are not adding a crown molding)
- Mitre Saw
- Nail Gun/Nails
- Compressor
- Tape Measure
- Paint
- Paint Brush & Roller
- Random Orbit Sander
- Sand Paper
- Hammer
- Screwdriver to remove electrical plates
- Paintable Caulking
- Caulking Gun
Paint the Wall
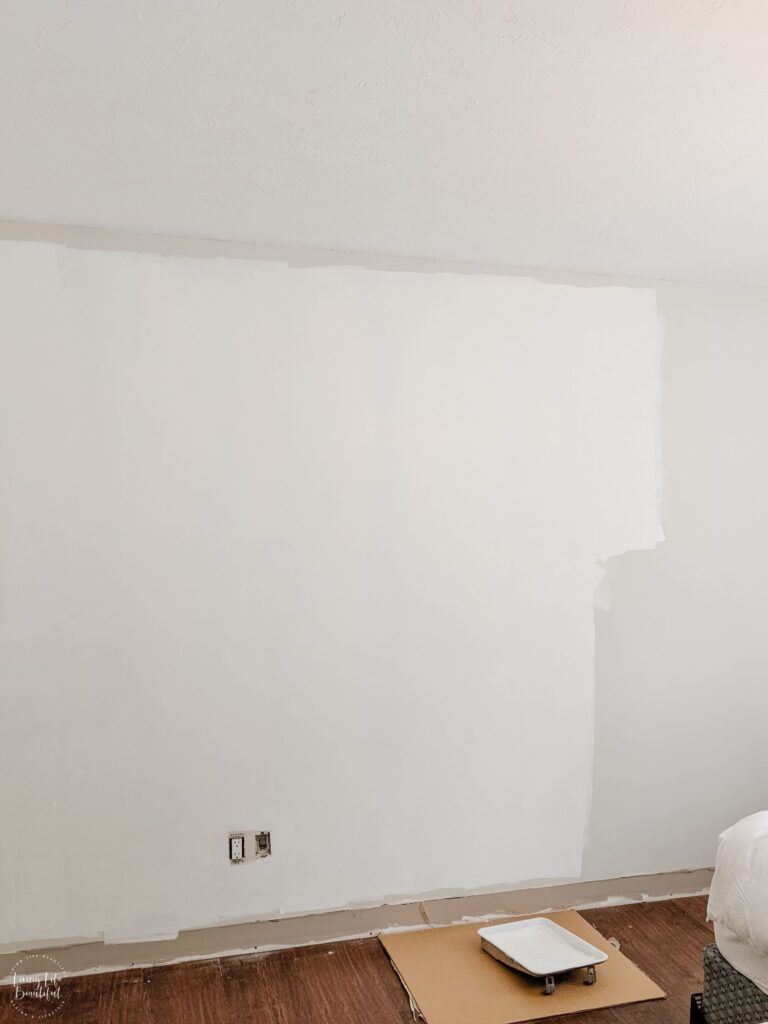
Choose the color you want for your board and batten and paint the wall accordingly. We used Benjamin Moore Simply White in a satin finish for our project. Before we began, our new lighting fixtures, including a chandelier and lamps, arrived, and you can catch a sneak peek of them here.
Install
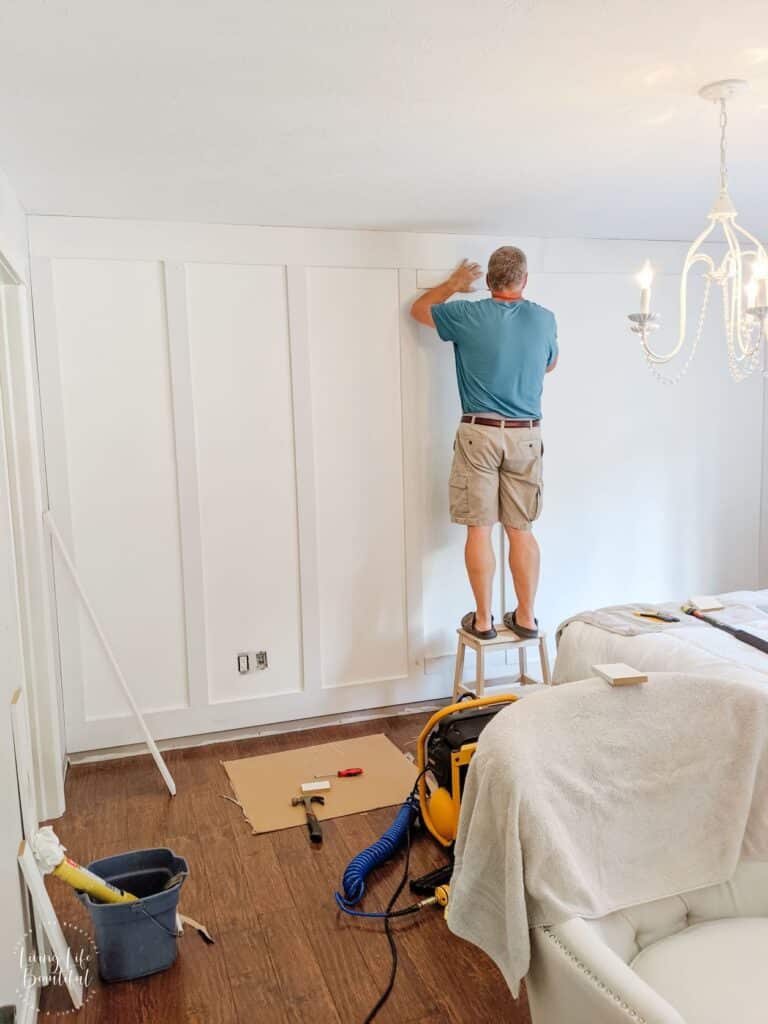
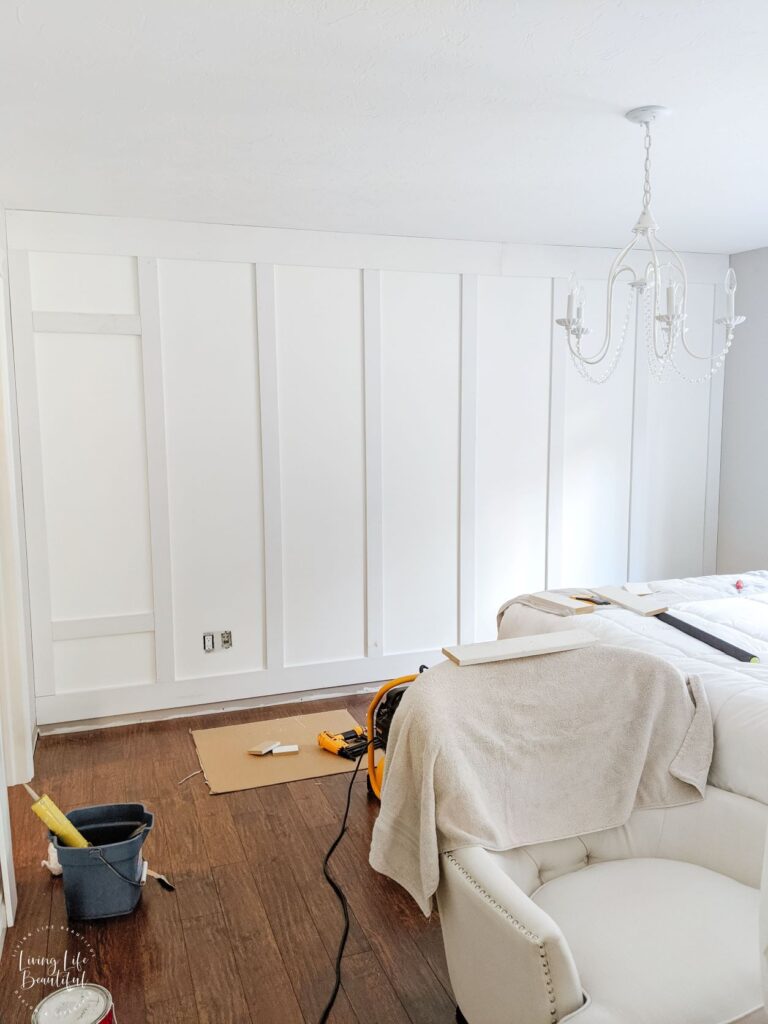
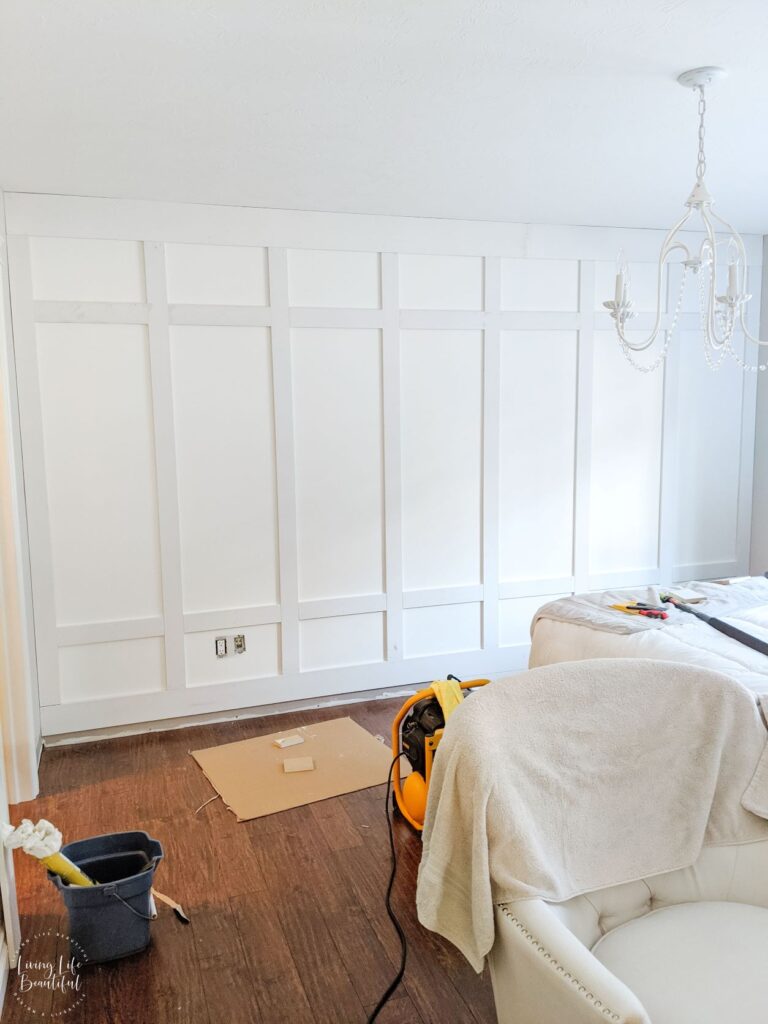
To install MDF boards in the desired design, we first determined the final measurements. To ensure accuracy, Roger pre-cut the horizontal boards to the same length using a miter saw with a stop. He then used these boards to space out the columns to the desired width and nailed them to the wall. To hold the boards firmly in place and minimize movement, he applied a light strip of construction adhesive on each board. Finally, a nail gun was used to secure the boards to the wall.
Prep Before Painting
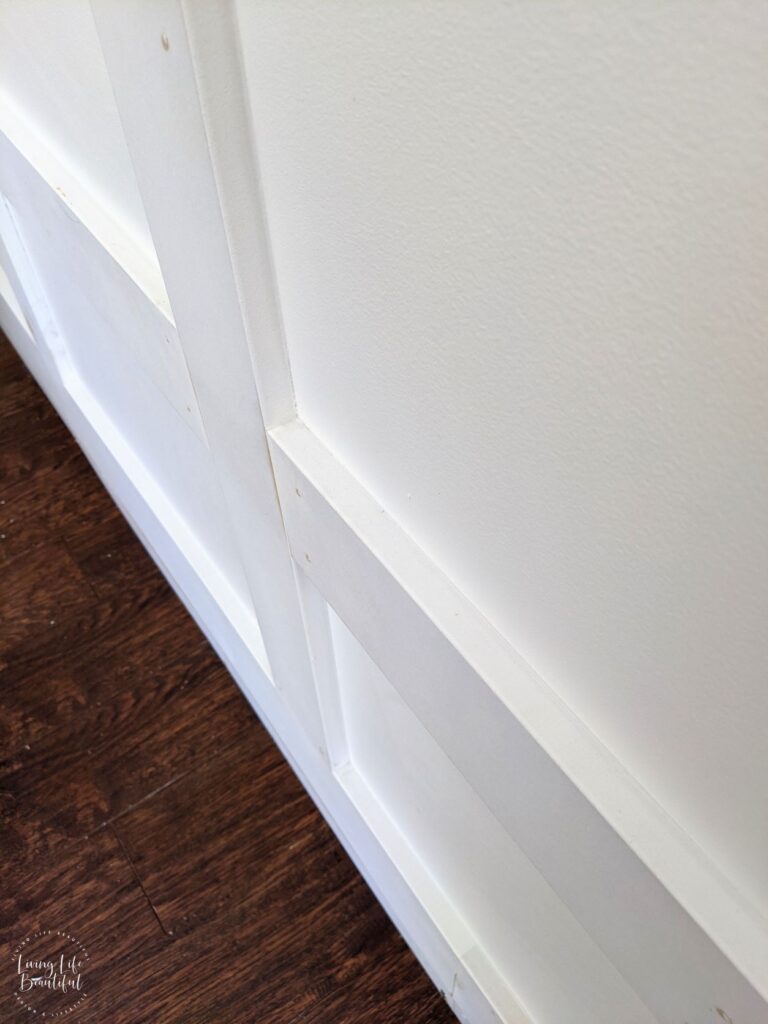
After installing all the boards, Roger proceeded to fill in all the nail holes, gaps, and cracks with paintable caulking. Once the caulking had dried, he sanded down all the boards.
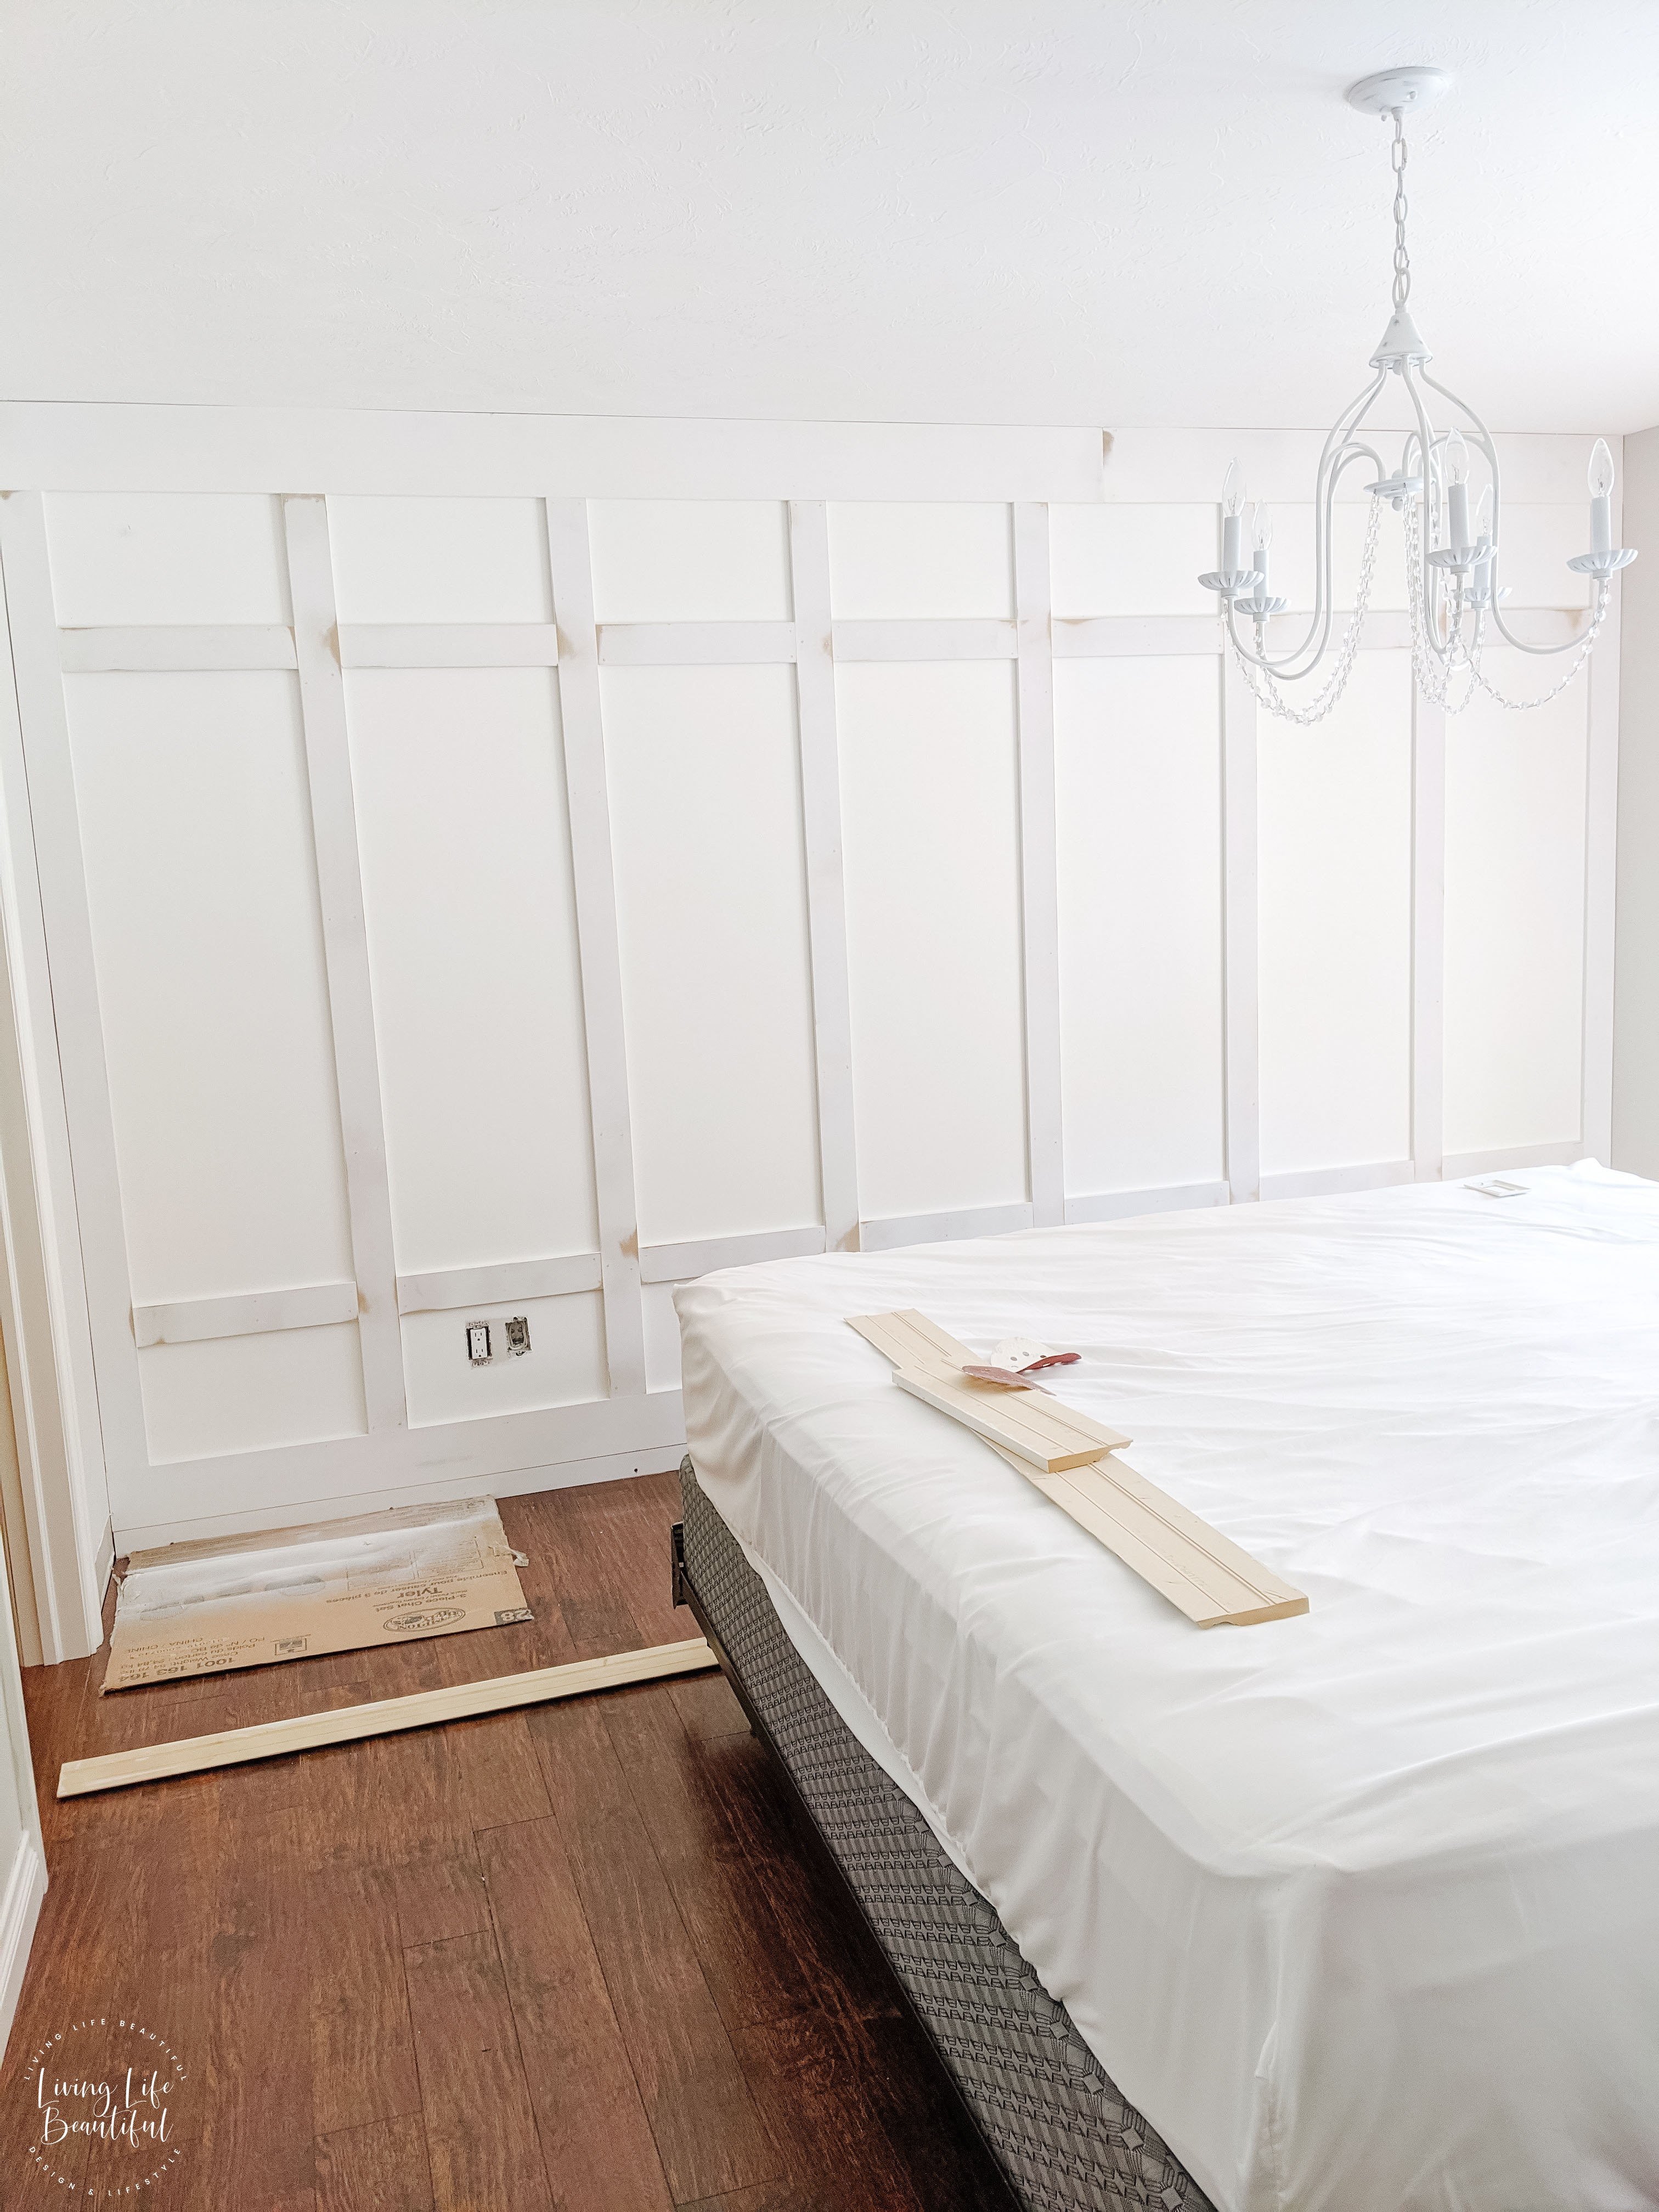
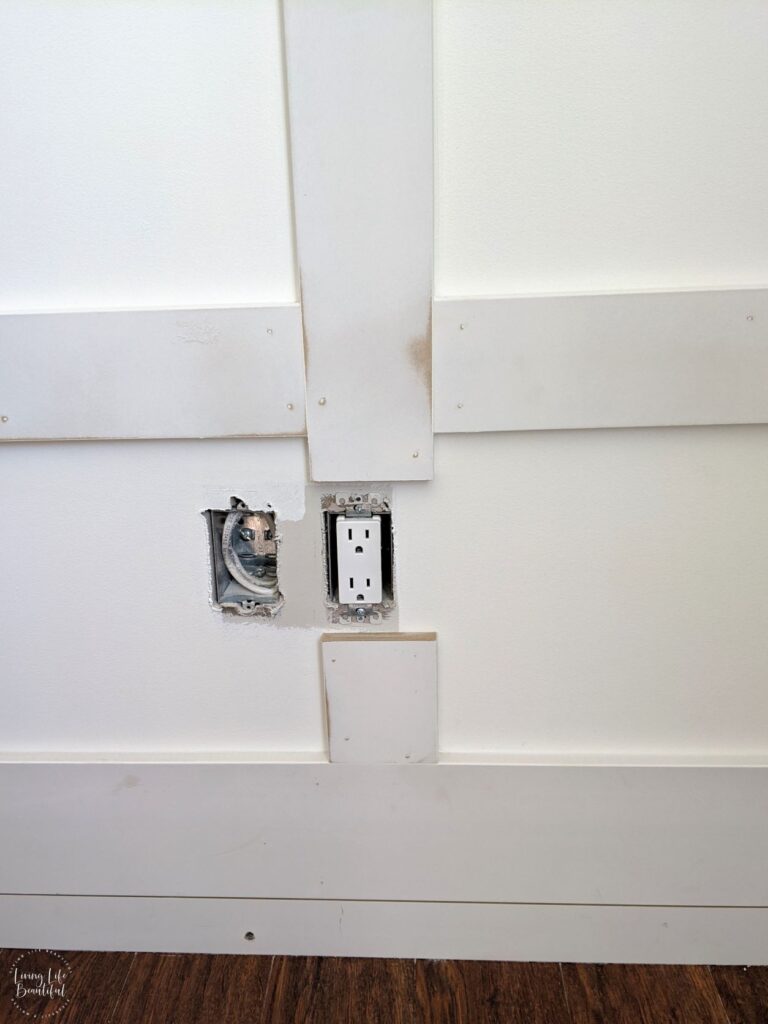
Let’s take a closer look at how caulking can enhance the appearance of a wall after it’s painted. During the installation process, we encountered a problem with a receptacle on the second-to-last vertical board. However, since the nightstand will be placed in front of it, we were able to work around the issue without much worry.
Painting Board & Batten and Trim
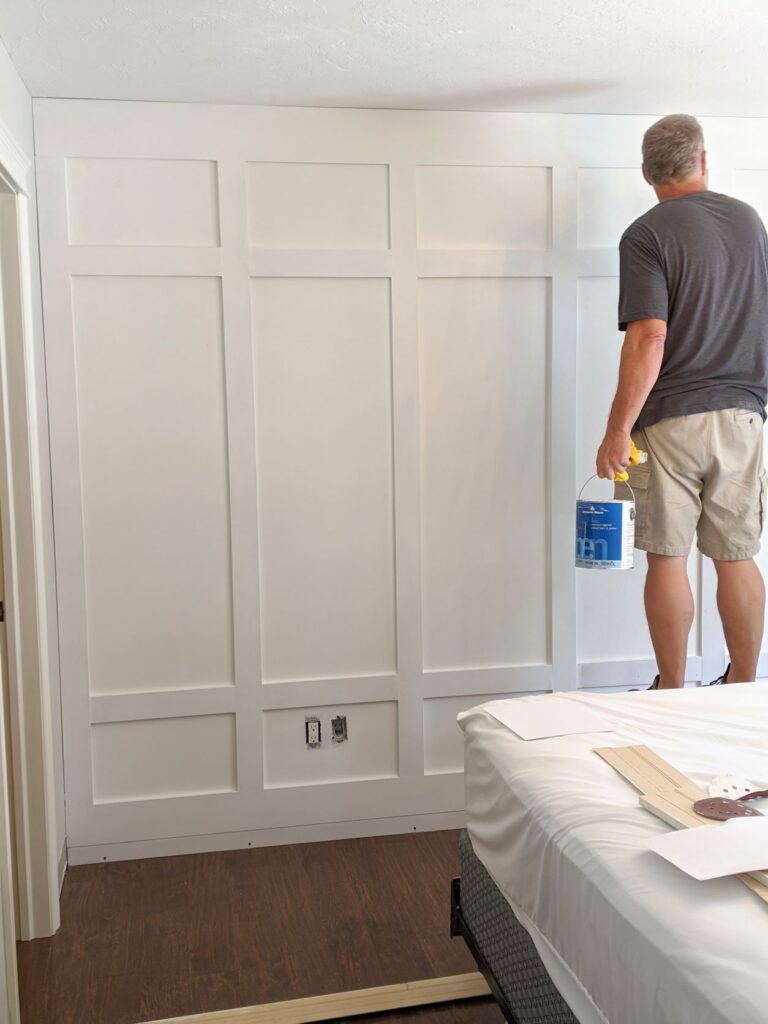
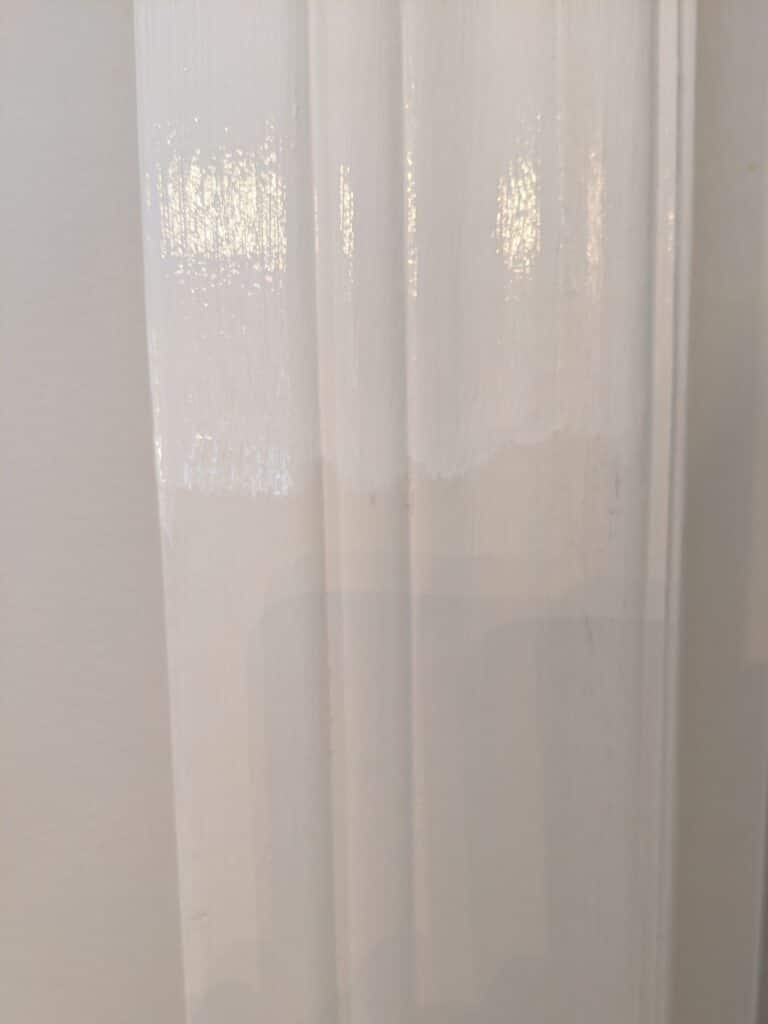
I painted the boards using the same paint that we had used on the wall earlier. After some discussion about the most popular white paint colors, we ultimately decided to paint all of our moldings in BM Simply White. This was the final room on our main floor that required the moldings to be painted to match our new trim color in our home. Although we still have to paint all of our interior doors, we will tackle that task one step at a time.
Crown Molding
After receiving our new bed and placing it in its spot, we opted to install crown molding purely for aesthetic reasons. It wasn’t necessary for the wall to appear complete, but it was a personal preference.
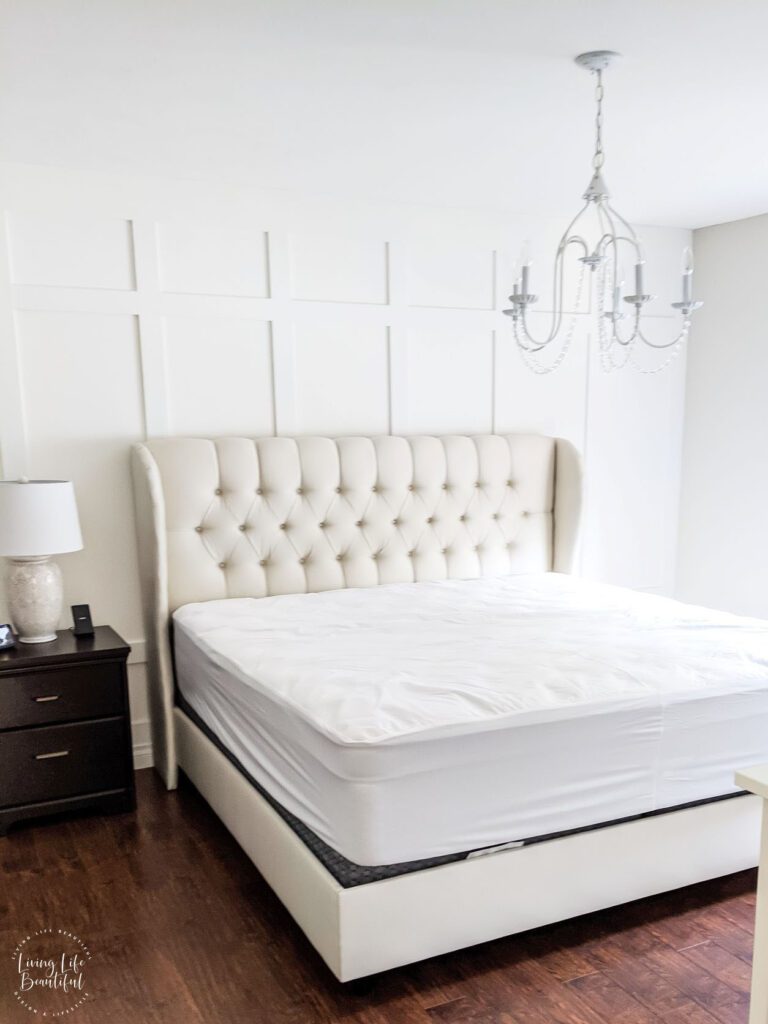
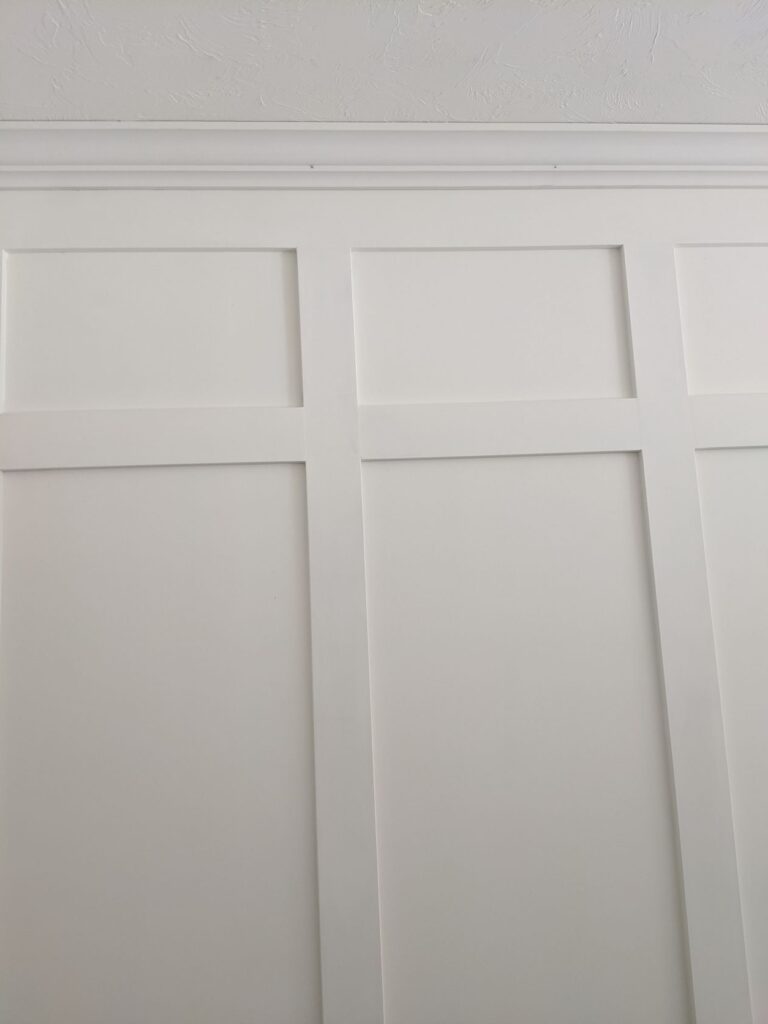

We are extremely pleased with the final result of this room. The DIY board & batten feature wall add a striking touch, while the overall ambiance of the bedroom feels tranquil and calming. This particular room is definitely one of our favorites in the house. We plan on sharing all the resources for the primary bedroom’s final reveal in the upcoming weeks.
If you enjoy DIY projects, this DIY board & batten feature wall is a simple, inexpensive way to add character to any room. Have some fun with it, and give it a try!
