Create Vintage Christmas Bells: An Easy DIY Guide
Creating a cozy, vintage-inspired Christmas doesn’t have to be expensive! DIY Christmas bells are one of my favorite ways to add nostalgic charm to holiday decor without overspending. I’ll show you how to capture a beautiful vintage look that brings timeless elegance to any space with just a few simple supplies.
This post contains affiliate links; see disclosure for more information.
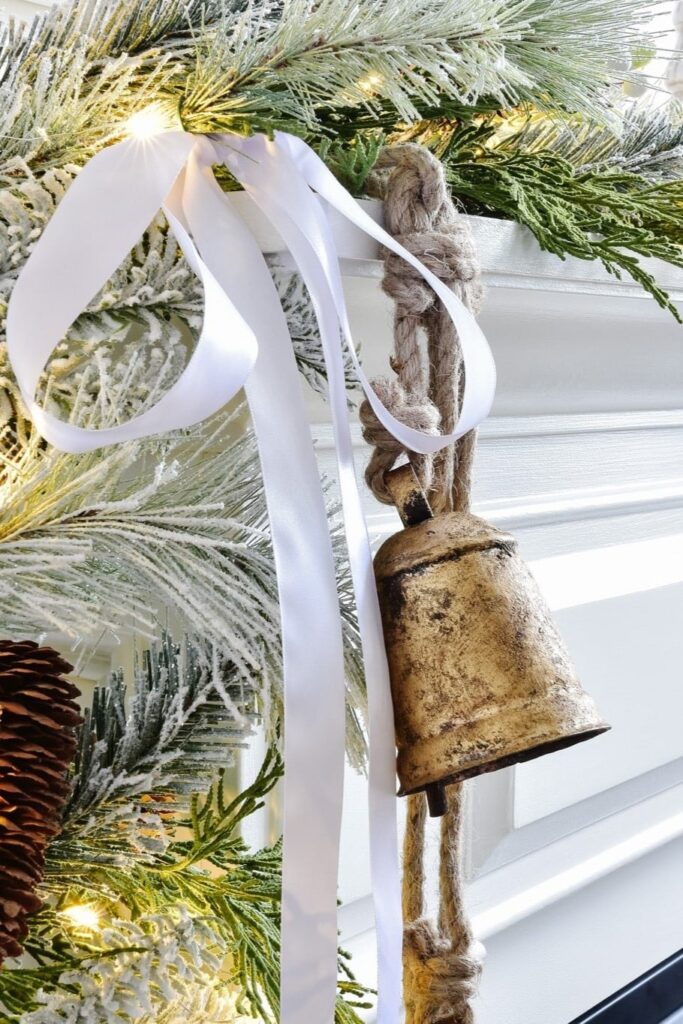
How to Decorate with DIY Christmas Bells
Vintage-inspired bells bring a unique and timeless charm to home decor, adding warmth and elegance to any setting. These DIY Christmas bells can be displayed in so many creative ways, making them perfect for adding a personal touch to your Christmas decorations.
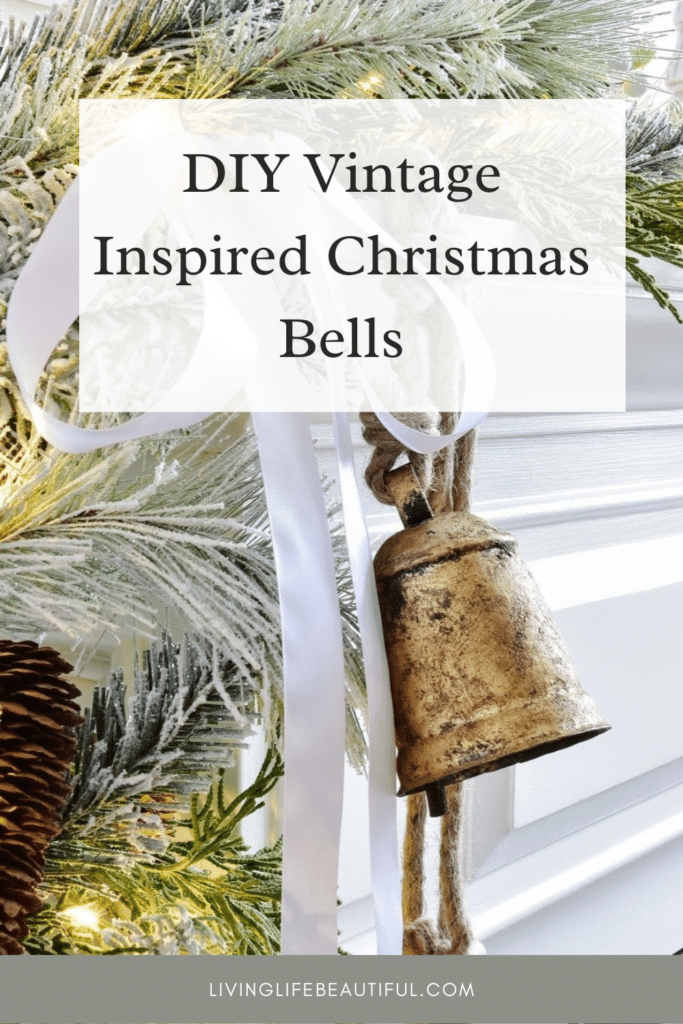
Try hanging a few bells from your fireplace mantel, like I did, for an elegant display that sets a cozy tone in your living room. You can add them to wreaths—whether on your front door or as an indoor wall accent—where they become a beautiful, eye-catching centerpiece with that vintage flair that is so popular.
If you’re dressing up a Christmas basket, a few holiday bells tied with jute string or ribbon can add just the right touch. And, of course, hanging them on your Christmas trees will create that classic look and feel. With so many ideas to style these DIY Christmas bells, there will be no problem finding ways to bring beauty and warmth to your home.
DIY Affordable Options
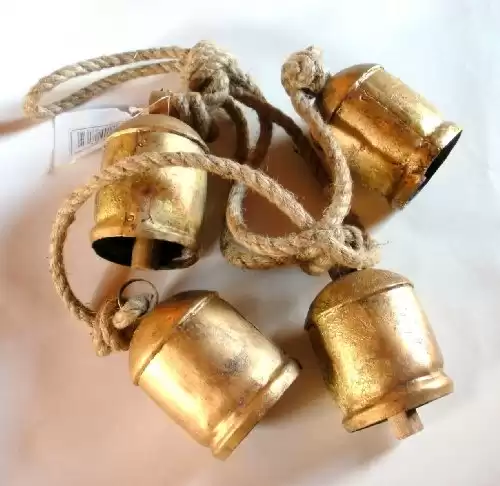
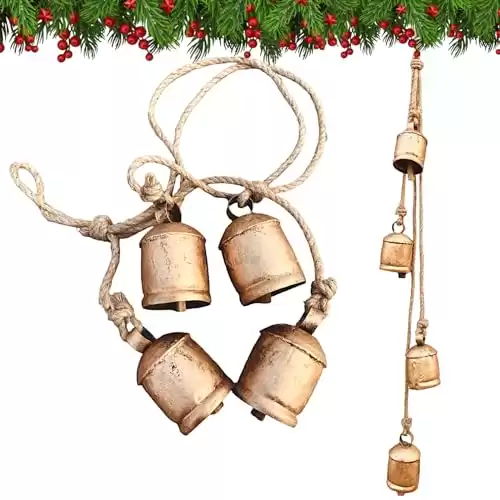
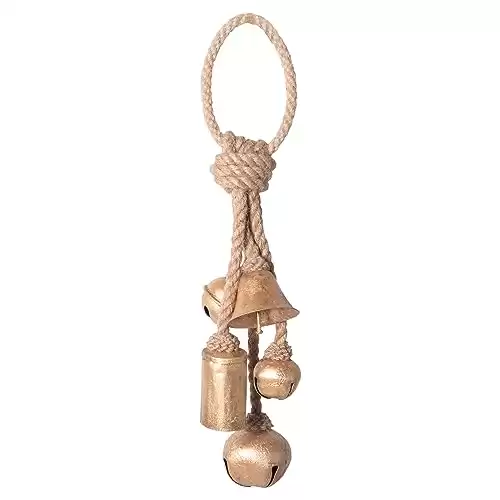
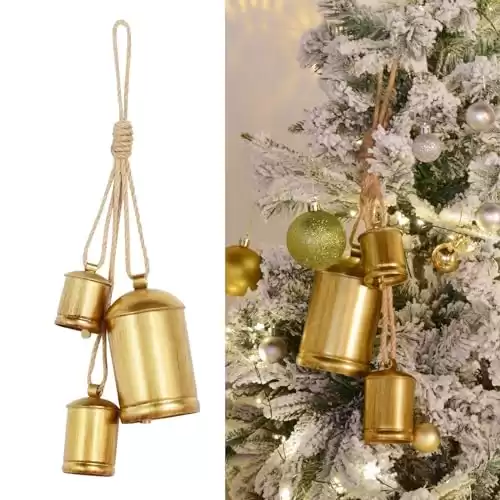
Finding affordable vintage-style bells was easy—Amazon has several options! I found a few sets that had the perfect shape and size but were too bright in brass, not quite the vintage look I was after.
Depending on your project, you can choose from large and smaller bells and single or multiple options. I used Behr decorative wax to give them that antique finish, transforming the bells into beautiful, time-worn pieces that look straight out of a vintage holiday scene.
If you have silver bells, you could spray-paint them gold. Then add the Behr wax to give them an antique look. Always use what you have first if you can.
This technique is simple and quick; you can achieve an authentic, aged look in just minutes. Follow the step-by-step instructions below to see how easy it is to create this charming, vintage effect for your own bells!
Christmas Tutorial
DIY Christmas Bells 🔔
Materials you’ll need:
- Affordable vintage-shaped bells
- Decorative Wax in Dark Antique by Behr
- Firm Paint Brush (I found one at the dollar store)
- Paper Towels or an old rag
If you need affordable bells for this project, check out these options from Amazon!
Instructions
How to DIY Christmas bells (vintage inspired)
Step 1:
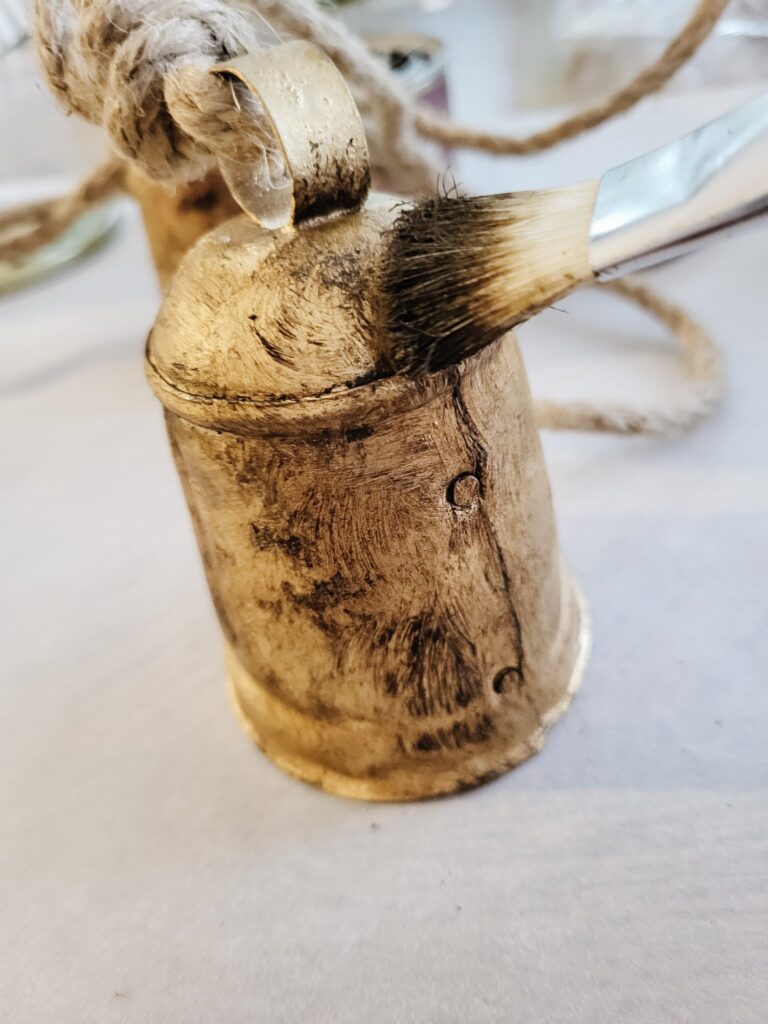
Take your brush and dip it into the decorative wax. With quick movements, stipple and brush the wax onto the bell’s metal pieces.
Remember to add it around the top of the bell hook. I did not put wax deep inside of the bell, just around the edges. To avoid any mishaps, I always put a little bit of parchment paper on the table.
Step 2:
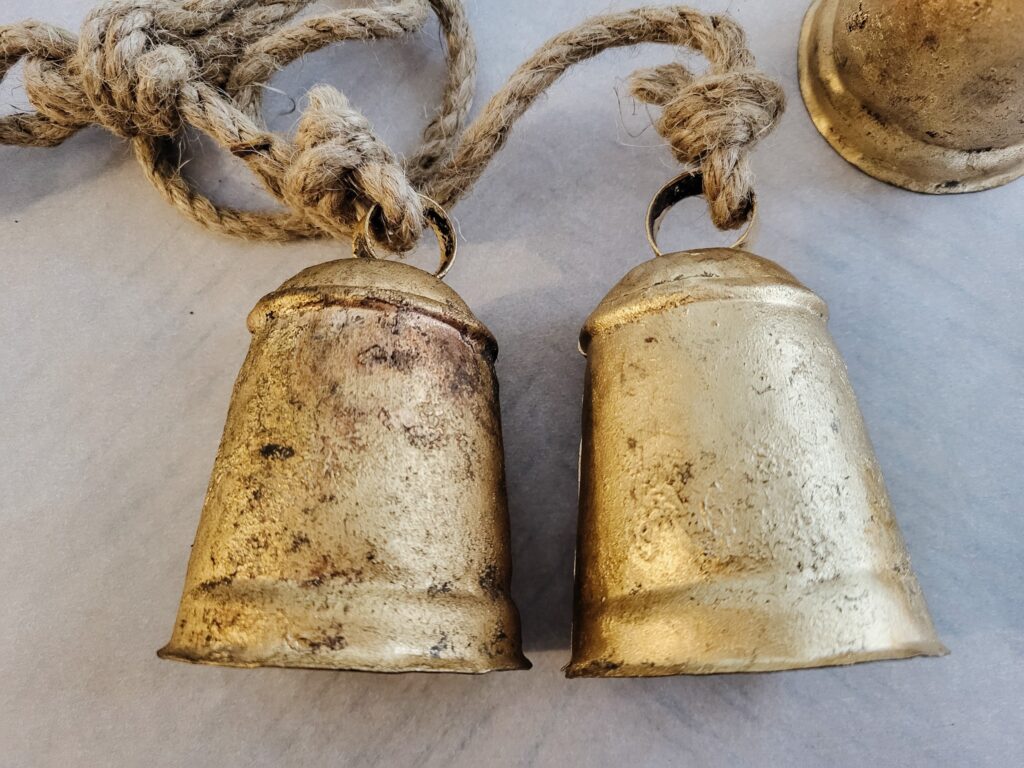
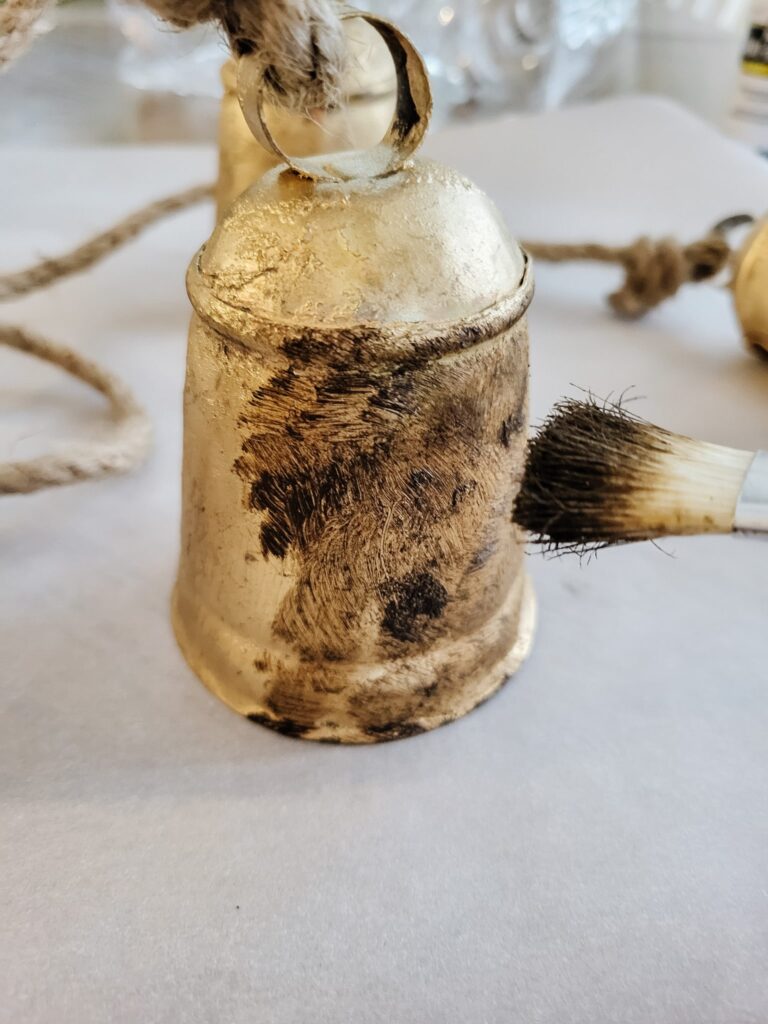
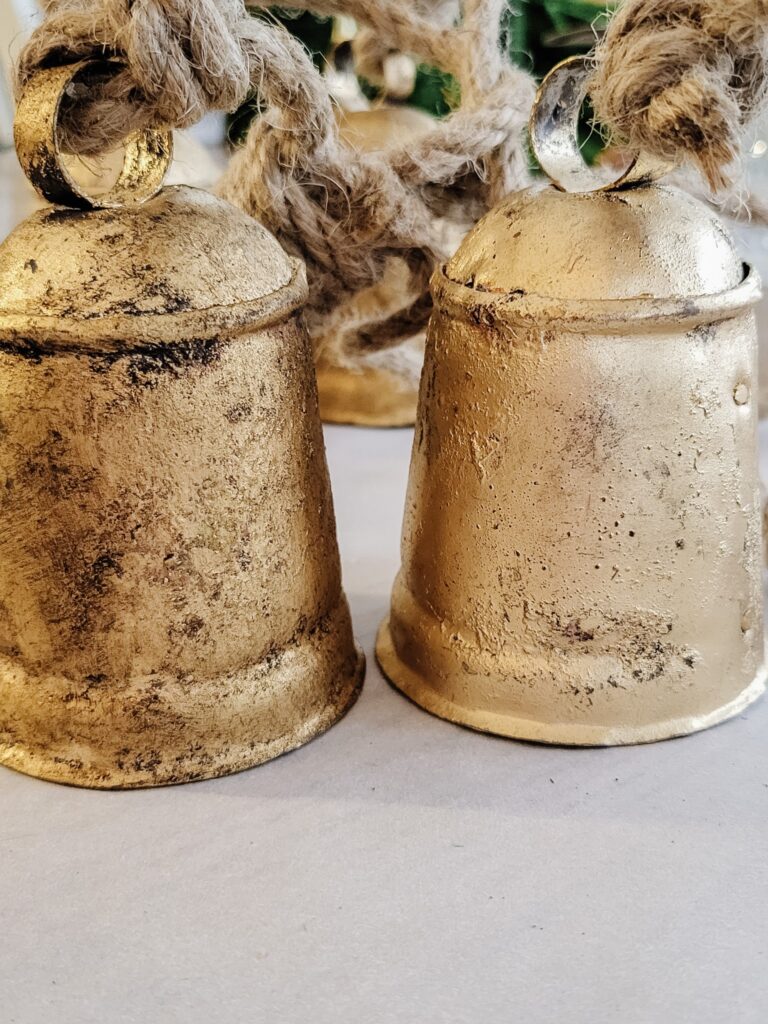
Use a paper towel or rag to remove excess wax. This will tone down the gold and give the bell an aged look. Let dry for 30-60 minutes before decorating.
Step 3:
Make your home stand out this Christmas with stunning DIY Christmas bells. Choose your favorite ribbon and add a personal touch to create a unique and memorable decoration.

How to Create Vintage-Inspired Christmas Bells
This project turned out to be so easy, and I absolutely love how these vintage-inspired bells bring warmth and charm to our holiday decor.
The Behr decorative wax is my go-to for projects like this; I’ve used it on everything from gold frames to vase makeovers, and it always delivers that beautiful, aged look.
The best part? This wax is incredibly versatile, so you’ll find endless ways to incorporate it into your next DIY project around the home.
This is one of those DIY ideas you will want to try this Christmas season—these bells have become one of my favorite things. You’ll be amazed at the difference these vintage-style bells can make in creating a cozy, festive atmosphere.
I hope this DIY inspires you to create your own vintage-inspired Christmas bells and add a unique touch to your holiday decor! Whether you’re making bells for the first time or are a seasoned DIY enthusiast, I’d love to hear about your project ideas and see how your bells turned out.
FAQs Achieving the Perfect Antique Brass Look
Have any tips or creative twists you’d like to share? Or maybe a different way to display your DIY bells? Leave a comment below – I can’t wait to hear about your beautiful creations!

Hey there, I’m Cheryl
I’m a proud mom, wife, business professional, and Maritimer who loves decorating and organization. From daily essentials to interior design, join me as I share my next project, plan, or tutorial. Using simple planning and organization strategies, I love to help folks like you bring more beauty and harmony into your lives and living spaces.
What’s Next?
The holiday season is one of my favorite times of the year, and there’s nothing like the warmth and joy it brings! Christmas fills every corner with magic. Living Life Beautiful shares heartfelt ideas for creating a welcoming space your loved ones will cherish. Let’s dive in and make this holiday season one to remember!
Don’t forget to pin this for later!

Hi Cheryl
I love the bells and never would have thought to use a wax paste to age.
Your photos are beautiful
Merry christmas
Thanks, Laura! I love how they turned out, too! And I have to credit my husband for the final photo of them decorated on the fireplace. He does a lot of my photography 🙂 Merry Christmas!
Your bells are beautiful. What an imagination
Thanks, Nan! They are very pretty; I am glad you liked them ❤️