Small Pantry Makeover: DIY Organization on a Budget
What if you could transform your pantry? In this guide, I’ll share step-by-step instructions and creative storage solutions to help you with your DIY Pantry Makeover—whether it is a small cabinet, a walk-in pantry, or even a converted closet like ours—and turn it into a beautifully organized pantry you’ll love.
Learn how transforming an underutilized space can make your home more organized and functional!
From a Hall Closet to a Pantry Makeover
When we first moved into our home, the small built-in kitchen pantry cupboard that was part of our kitchen cabinets quickly became chaotic and messy. There was just not enough space.
If you have the same issue, you would know that in a messy space, you have no idea what you have on hand. It often leads to frustration and wasted money buying duplicates of items you don’t need. Clearly, our current setup wasn’t working, and we had to find a solution.
In the hallway connecting our main living areas to the bedrooms and bathroom, we have a closet used initially for linens and miscellaneous bathroom storage. The space was underutilized and far from full. This gave me an idea, and I decided to change this closet into a pantry.
So, we freed up this prime real estate for a functional and organized pantry by relocating the linens to the bathroom.
Improving on the Basics: Our DIY Pantry Makeover Evolution
My initial attempt at transforming the hall closet worked well in terms of functionality with the existing shelves, as shown in the before-and-after photos. However, I quickly realized I didn’t like the wire shelves. Items didn’t sit properly on the wire racks, and the weight was limited. While I considered placing a hard surface over the shelves, we decided to upgrade them entirely.


You will notice how the storage requirements for my pantry have changed. This is because our food choices changed, my zones changed (you will see more on zones below!), and I organized my kitchen cupboards differently. Each person’s pantry will look different, but the steps to get there are the same.
Building custom shelves helped us resolve our issues and increased the storage space with additional support for heavier items. We constructed the new shelves from melamine, spacing them evenly to maximize usability. The very top shelf was intentionally given extra vertical space to accommodate surplus storage if needed.
This simple yet impactful update marked the beginning of our DIY pantry makeover, turning an underused hall closet into a beautifully organized and functional pantry.
Small Pantry Organization Ideas
Whether you are tackling the organization of your current pantry or upgrading to a custom pantry, no matter your pantry size, these tips will help you work through the process.
This post contains affiliate links; see disclosure for more information.
Step 1: Assess and Plan
The first step to transforming your hall closet or any pantry space is to assess its potential. Measure the space—height, width, and depth—and take note of any existing shelving sizes.
Think about your specific needs when it comes to planning a pantry makeover:
- What items will you store in your pantry?
- How often will you access them?
- Are there specific zones you want to create, such as snacks, baking supplies, and dry goods?
Planning is key! Sketch a layout or use an online design tool to visualize your shelf space. I dedicated my pantry to baking essentials, dry goods, snacks, and small appliances, creating zones for each to ensure functionality.
Related Resources:
- Kitchen Organization: Why it Matters & How to Do It
- Best Tips to Declutter and Organize Your Home in 2025
Step 2: Clear and Prep the Space
Start by emptying the closet and removing any existing shelving that doesn’t fit your vision. This is a great time to check your food items for expiration dates and discard them.
- Clean the walls and floor before you begin your pantry makeover.
- Patch holes and sand rough areas.
- Consider painting or adding peel-and-stick wallpaper to the back wall of the pantry to add a design element.
- Or add shelf liners to hide imperfections or to add a subtle design.


For my pantry, I chose a white paint color to brighten the space and added a subtly patterned shelf liner to give it a finished, unique look. And I promise you, the easiest way to put on contact paper is with this kit.
Related Resource:
Step 3: Choose Storage Solutions
The right storage solutions are essential for maximizing space and keeping things organized. Here’s what I used to ensure we had plenty of room for what we wanted to store during our pantry makeover:
Always measure the shelves before purchasing storage items to ensure they fit correctly into your space.
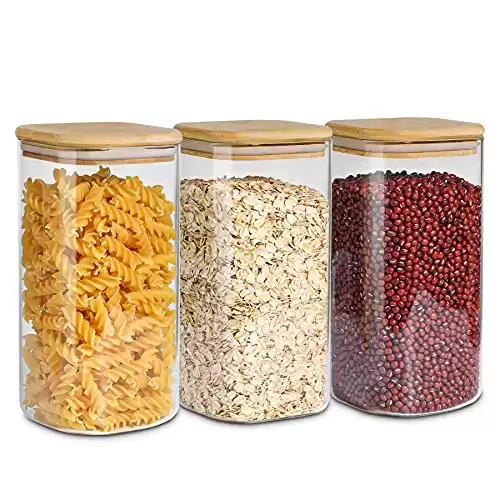
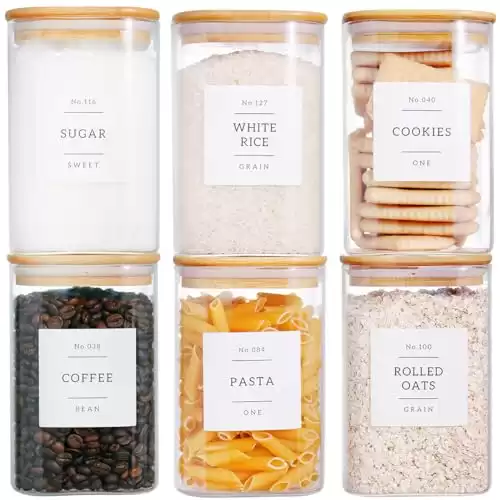
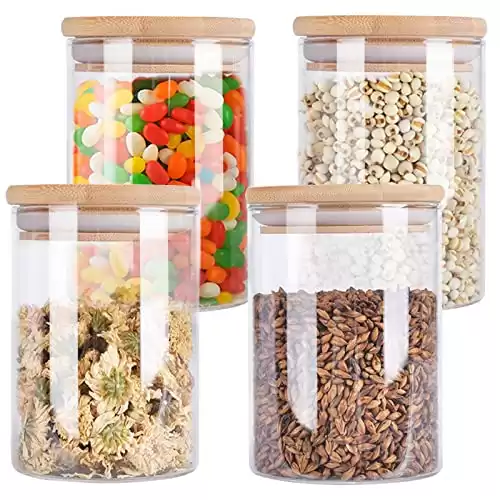
1. Glass Jars
Glass jars are a fantastic way to store dry goods like flour, sugar, and pasta while keeping your pantry looking neat and organized. The clear design makes it super easy to see what you have and know when you’re running low—no more surprises in the middle of baking! Plus, they help keep everything fresh and protected. Not only are they practical, but they also add a clean, stylish look to your shelves that makes your pantry feel instantly more put together.
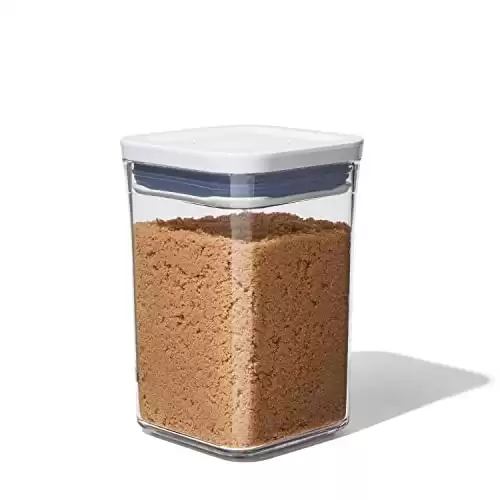
2. OXO Pop-Up Containers:
OXO storage containers are a great choice for a pantry makeover! They’re not only sleek and stylish but also incredibly practical. The airtight seals keep your food fresher for longer, and the clear sides make it easy to see what’s inside at a glance—no more guessing or opening containers to check. The stackable design is perfect for maximizing space, and they’re so easy to use, even with one hand.
3. Turntables:
Turntables, also known as lazy Susans, are such a handy addition to a pantry makeover! They’re perfect for storing snacks, condiments, or smaller items that tend to get lost in the back of a shelf. With just a quick spin, everything is right there at your fingertips—no more digging around or accidentally buying duplicates because you couldn’t see what you already had.
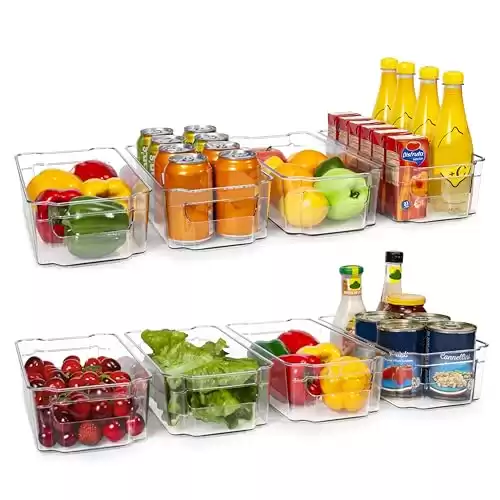
4. Clear Bins:
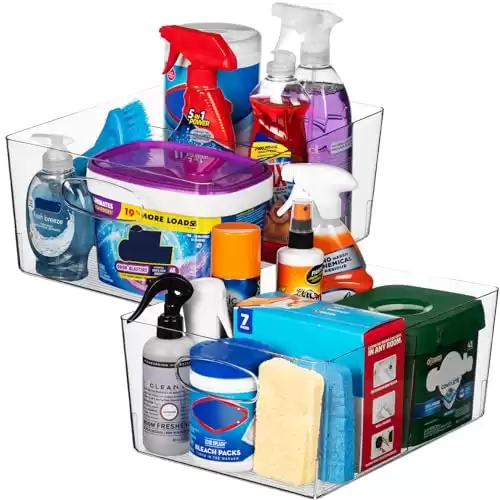
Clear bins are a must-have for a pantry makeover! They’re perfect for grouping similar items, making everything much easier to find. I used them for boxed items and other packaged goods to keep things neat and organized. Plus, there are even bins designed specifically for things like granola and snack bars. They’re not only practical but also make your pantry look net and cleaned.
5. Wire Baskets:
Wire baskets were another great find for my pantry makeover! They worked perfectly for boxed items and packaged snacks, keeping everything grouped and easy to grab. I found two different sizes, and they fit the space like a dream, making the most of those deep shelves. Not only are they super functional, but they also add a nice touch of texture and style to the pantry.
Related Resource:
Step 4: Add Personal Touches
A DIY pantry makeover isn’t just about functionality; it’s an opportunity to design and add your style. Here are a few ways I personalized my pantry:
- Decorative Labels: I used these beautiful matching labels to create a cohesive look during my DIY pantry makeover. You can make your own or use pre-made, custom, or free labels. The options are endless.
- Shelf Liners: These protect the shelves and add a pop of color or pattern. I love the subtle look of the contact paper I chose for our home.
- Lighting: My husband picked the lighting. After we added the solid pantry shelving, the closet became dark. These small LED lights come on automatically when we open the door, and they give just the right amount of light. The charge lasts and they were easy to install. We recommend it if you lack lighting in your space.


My husband picked the lighting. After we added the solid pantry shelving, the closet became dark. These lights come on automatically when we open the door, and they give just the right amount of light.
Step 5: Organize and Style
With your storage solutions in place, it’s time to organize. A clear container is the way to see what is inside, but of course, you want to label them, too!
Group similar items together to create zones, such as:
Baking Supplies: Flour, sugars, and baking powder.
Snacks: Packaged snacks, granola bars, and dried fruit.
Dry Goods: Rice, pasta, and nuts.
Small Appliances: Blender, Air Fryer, Toaster, and Mixers.
Extra Storage: Things like extra coffee pods, tea bags, dog food, or products we got deals on went on the top shelf.

I placed frequently used items at eye level for easy access and heavier items on lower pantry shelves for safety. In addition, I also added a turntable for additional baking supplies for easy access. This is one of my favorite things to use in tight areas so you can see everything you have on hand.
Maintenance Tips
Keeping your new pantry organized is simple with a few easy habits:
- Declutter Regularly: I actually started doing this monthly to keep it neat and tidy and it takes less time. Remove expired items and donate anything you won’t use.
- Restock Thoughtfully: Avoid overbuying by taking inventory before grocery shopping. It’s much easier to do once your kitchen and pantry are organized.
- Label Everything: Labels make maintaining order easy for everyone in the household. I love the look of labels, but it is a personal choice. If you would rather not spend the money, you can easily make them yourself by purchasing dollar store stickers and writing the name with a black marker to stand out.
Bonus Tips
- Use the bottom shelf for anything heavy or small appliances.
- Use a pantry inventory list to track your stock.
- Rotate items to ensure older ones are used first.
- Invest in quality storage solutions that fit your pantry’s dimensions.
- Personalize your DIY pantry makeover with colors or patterns that suit your home.


Ready to Start Your Own Pantry Transformation?
Transforming my small closet into a pantry was a rewarding DIY project that helped so much with our home’s organization. I love the finished look! With a bit of planning, creativity, and the right tools, you can achieve the same!
Have you tackled a similar project? I’d love to hear about it! Share your DIY pantry ideas in the comments below or tag me on Instagram @livinglife_beautiful to show off your makeover.

Hey there, I’m Cheryl
I’m a proud mom, wife, business professional, and Maritimer who loves decorating and organization. From daily essentials to interior design, join me as I share my next project, plan, or tutorial. Using simple planning and organization strategies, I love to help folks like you bring more beauty and harmony into your lives and living spaces.
Feeling overwhelmed or short on time? Decluttering and organizing your home can lead to a more calm, efficient environment that frees up both time and energy. Dive into these step-by-step guides to create a balanced and harmonious space that truly supports your lifestyle. Let’s keep organizing simple and transformative!
Don’t forget to pin this for later!









![6 Pack [ Extra Large ] Wire Storage Baskets for Organizing with Lables, Pantry Organization Bins Cabinets - Metal Basket Kitchen, Laundry, Garage, Fridge, Bathroom Countertop Organizer, Black](https://livinglifebeautiful.com/wp-content/uploads/2025/01/51BBeQ9HeBL._SL500_.webp)
