How to Paint a Bathroom Vanity
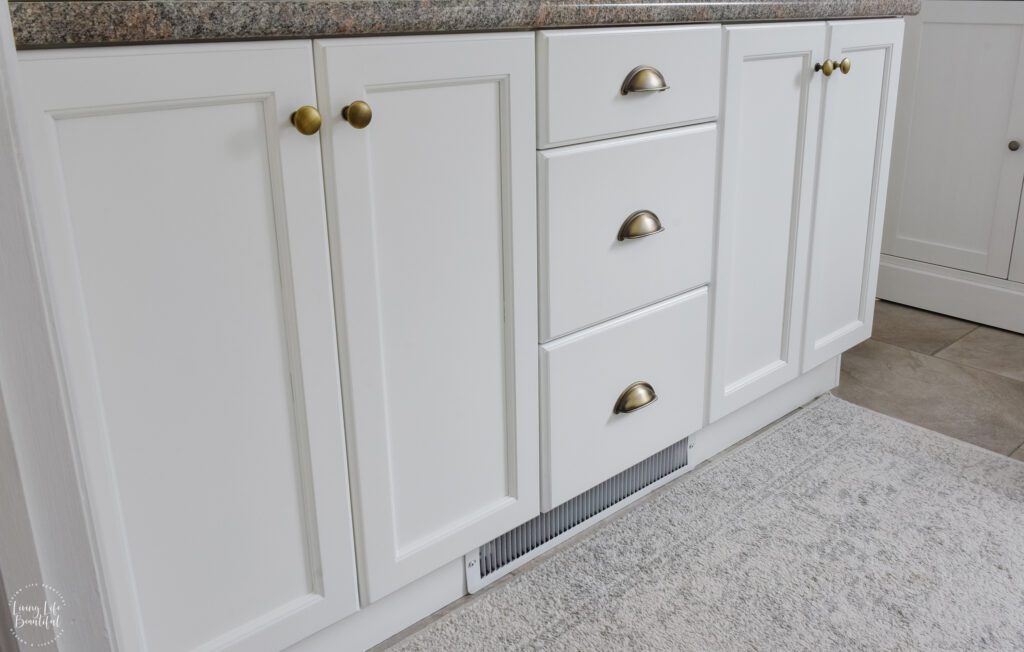
Are you looking for a simple way to makeover your bathroom vanity at a fraction of the cost? These tips on how to paint a bathroom vanity are easy with beautiful and sustainable results.
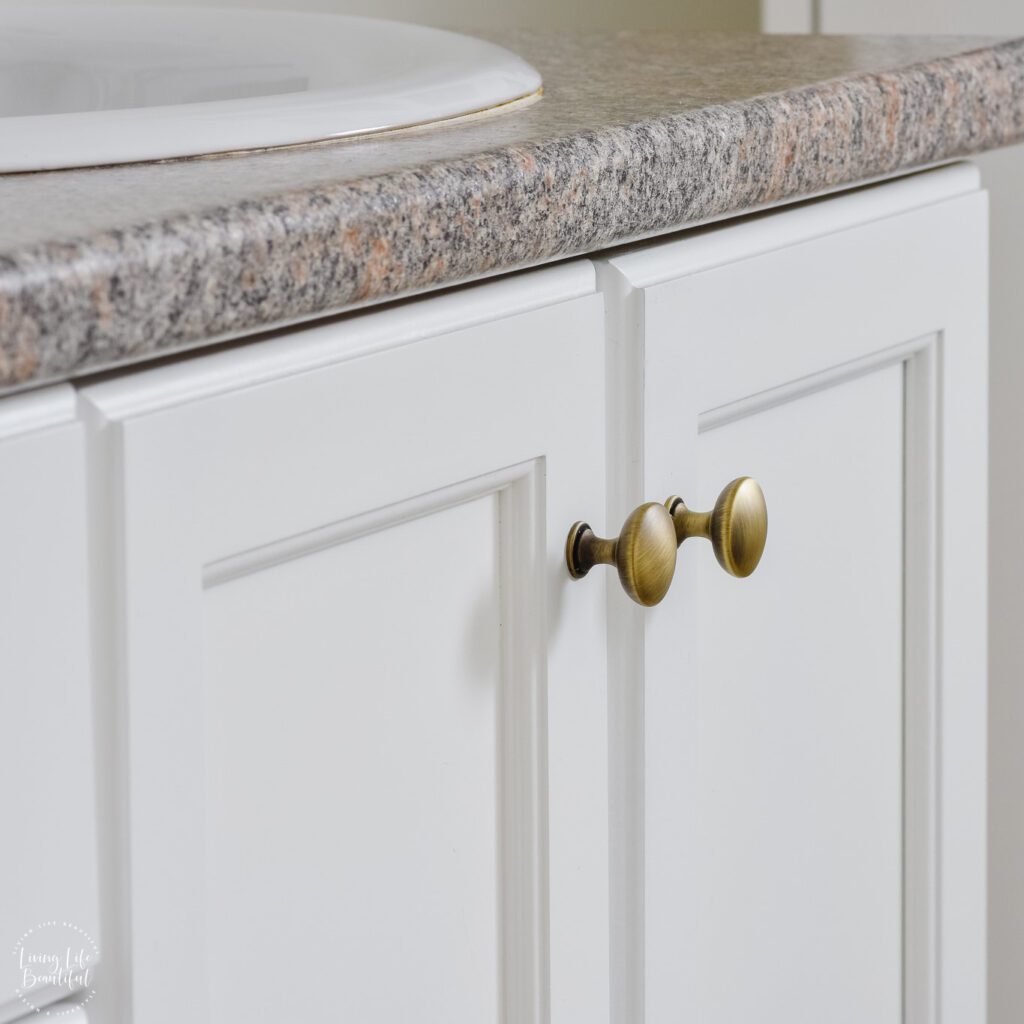
We use Benjamin Moore’s Advance Interior Paint (not sponsored) when painting furniture. The color we chose for our vanity is Benjamin Moore Simply White (OC- 117) in a pearl finish, and we also used their Advance Primer. This paint has exceptional coverage, is self-leveling, and cures a hard, furniture-quality finish.
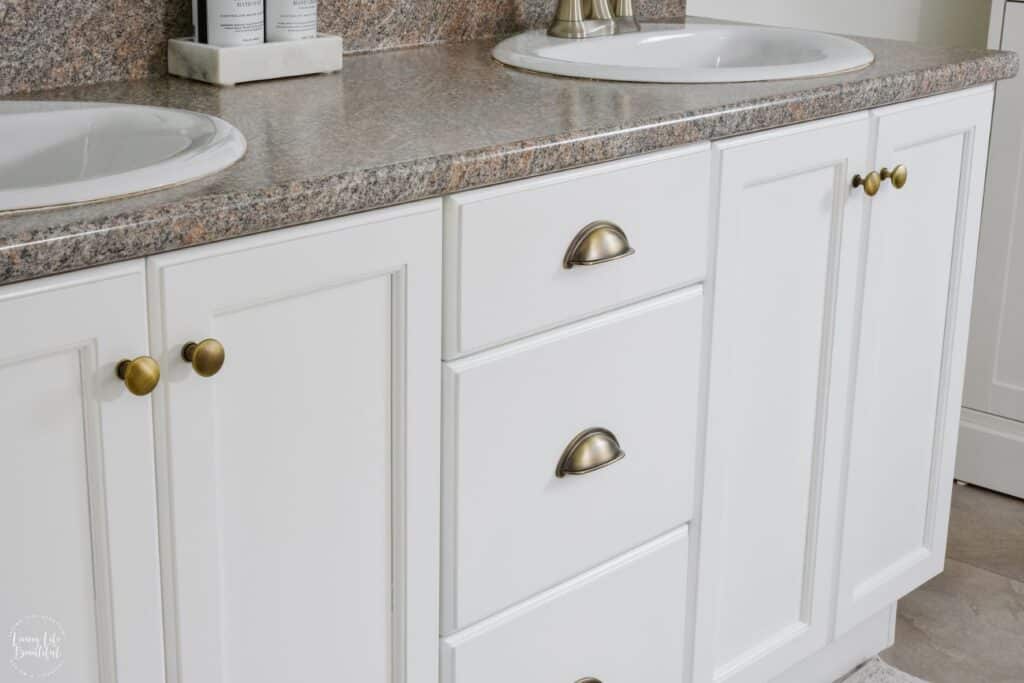
There are two options when painting a vanity. Choose a quality paintbrush and foam rollers or a paint sprayer. We used both options in this project, but it could have been done with one.

Step-by-Step Process
Preparation is key
- Remove the doors and drawers from the vanity, including hinges, knobs, and pulls, which will give you a flat surface to work with. If possible, remove the drawer fronts from the body.
- Find a separate workspace for your doors and drawer fronts to give you room for extended drying times.
- This is an excellent time to fill the holes in your doors and drawers if you change your knobs and pulls. Fill the holes with a quality wood filler when performing this step.
- Clean the entire vanity surface with a damp cloth.
- Lightly sand the vanity, doors, and drawers with a 120 grit sanding block followed by a 220 grit after sanding, wipe down the doors and drawer fronts with a tack cloth or damp microfiber cloth.
- Use painter’s tape and drop cloths around the vanity to avoid getting primer or paint on your walls, floors, and other surfaces.
Benefits of priming
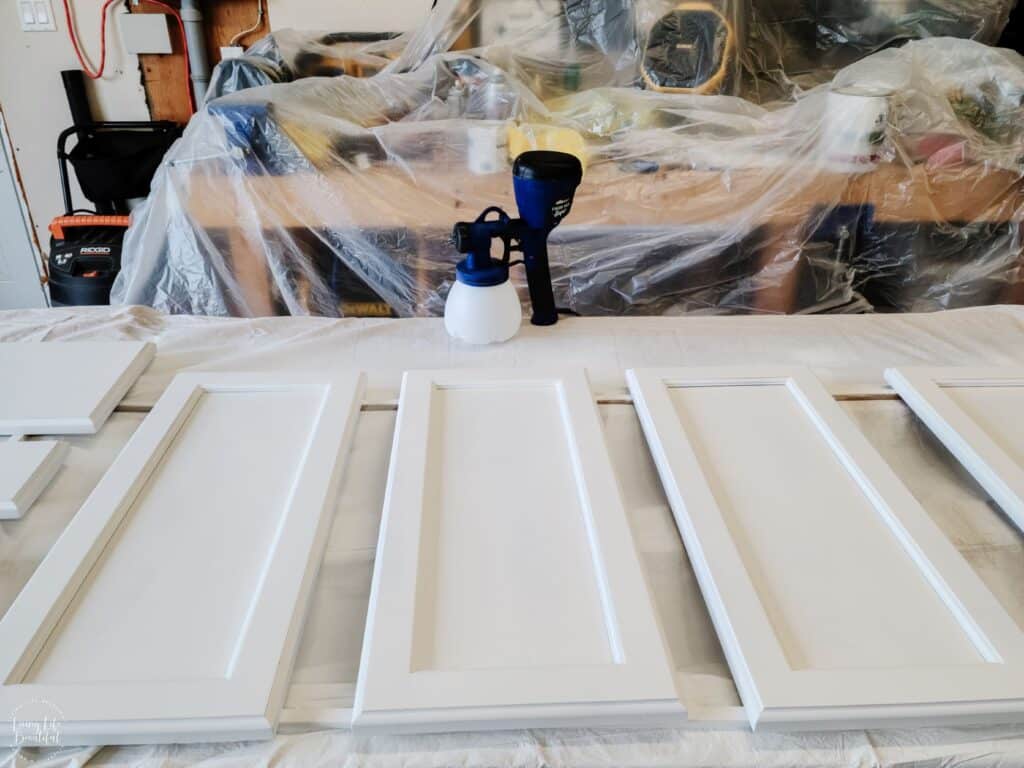
- Priming the vanity is an essential step in giving the paint something to adhere to. We used a paintbrush and foam roller for the vanity base and a paint sprayer for the doors and drawers. Always let the primer dry for 24 hours before continuing to the next step.
- After the first coat of primer has dried completely, lightly sand with a 220 grit sanding block.
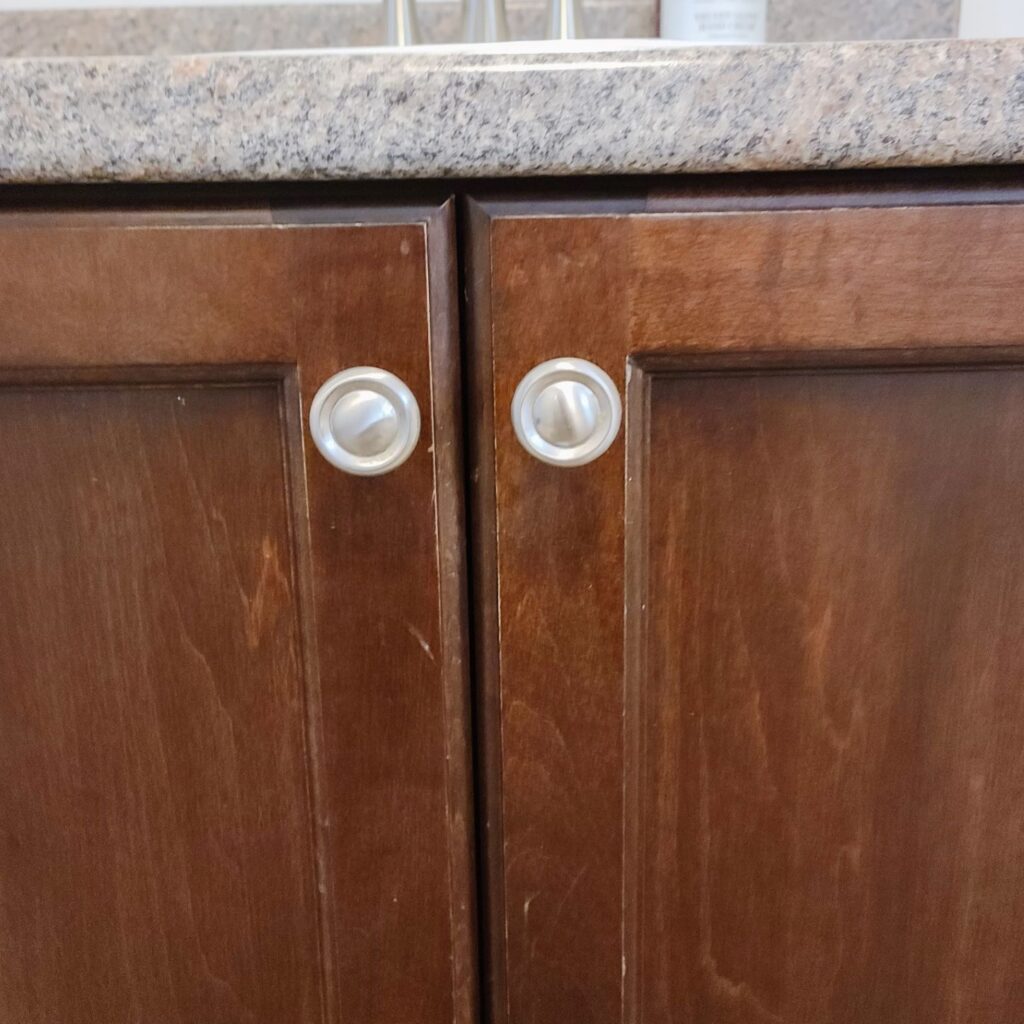
- When changing your vanity color from dark to light, we recommend repeating steps 1 and 2. The second coat of primer will bring the paint closer to neutral, using less paint in the next step.
Paint with patience
Once the primer is completely dry, use a clean angled paintbrush and sponge roller to paint the vanity. We, again, chose to use a paint sprayer to paint the doors and drawers. Painting can take 2-3 coats with a drying time of 24 hours in between coats. Any dust spots or uneven spots can be lightly sanded.
The vanity can be put back together once completely dry. If you are reusing your knobs and pulls, you can put them on at this point. Use a template to add new knobs and pulls to ensure they are centered and even before drilling.
Things you’ll need:
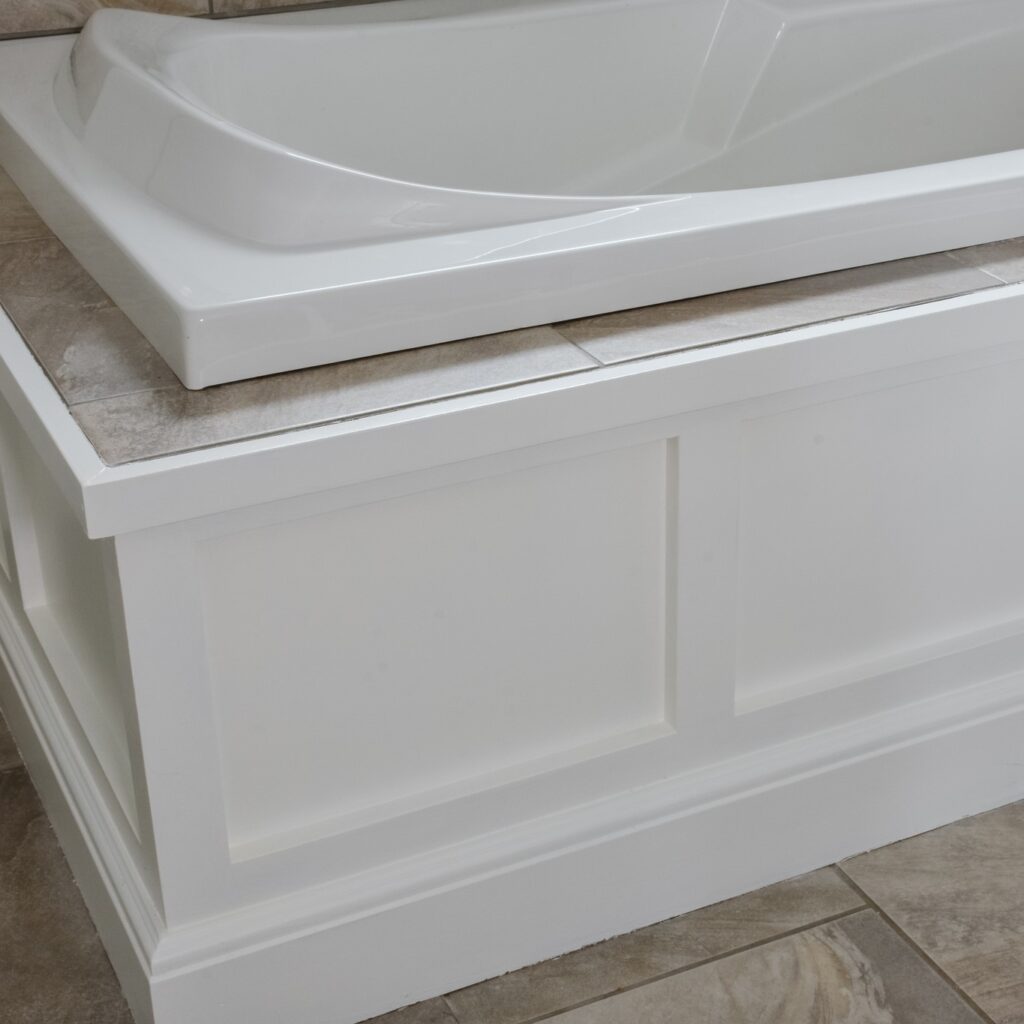
While painting the vanity, we also painted our tub surround to match. The changes are dramatic, and we are looking forward to completing the next steps in our primary bathroom makeover.

We hope this post gave you some insight into how to paint bathroom vanity. The steps are pretty simple and budget-friendly, and it is a very satisfying DIY project.
Our Favorite
DIY Projects


