How to Paint a Light Fixture in 5 Easy Steps
If you want to save money on your next room renovation, updating your light fixture with a coat of paint may be the solution. This before and after will show you how to paint a light fixture in 5 simple steps. Will this be your next DIY project?
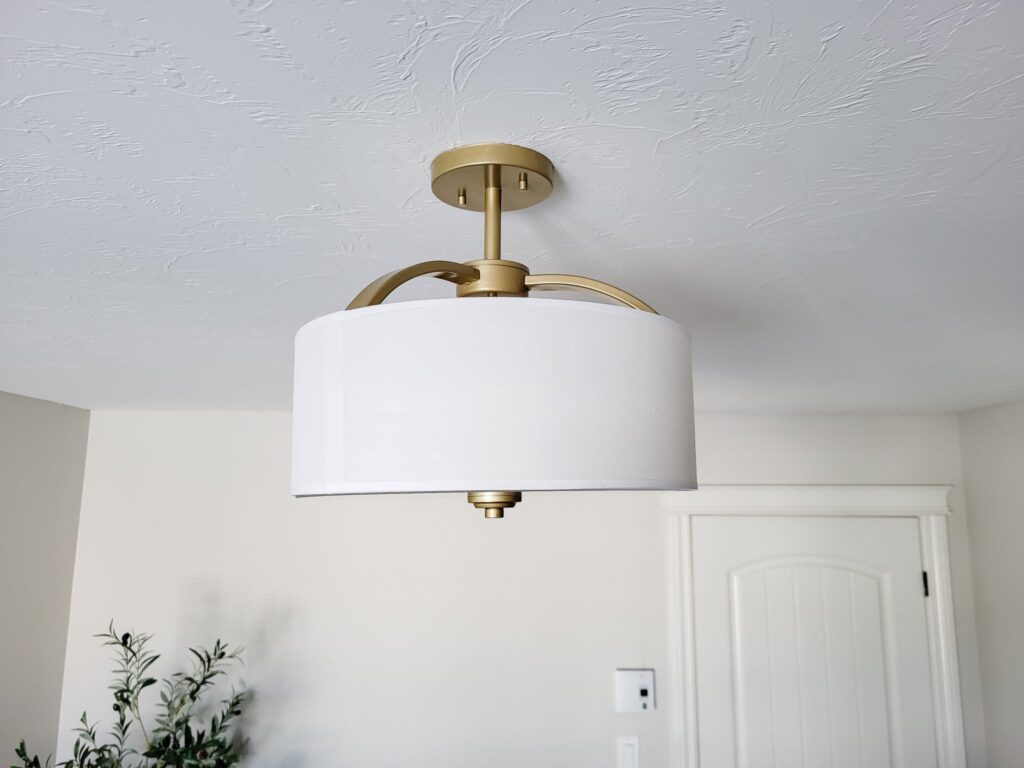
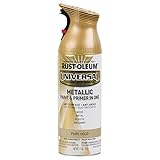
When painting the light fixture for my home office, we used Rust-Oleum Universal Enamel Metallic Finish. I wanted to change the fixture from chrome to gold. Their gold option has a beautiful finish and great coverage that dries quickly.
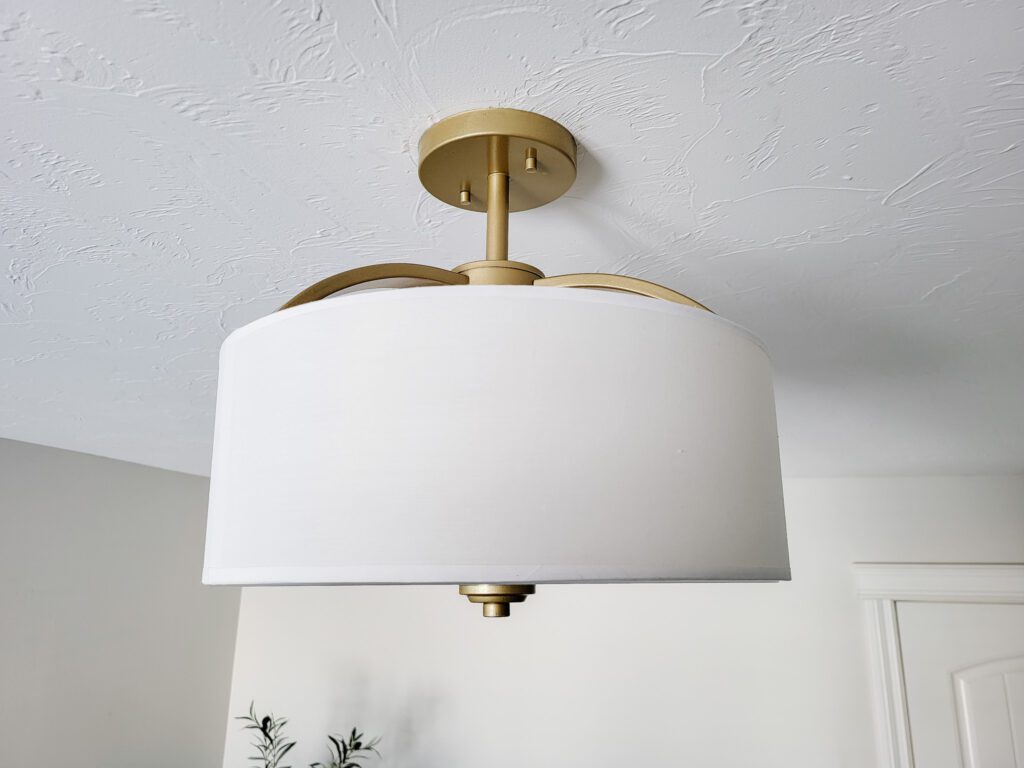
There are many spray paint options when painting light fixtures. We liked that the Rust-Oleum Universal Enamel Metallic Finish is a paint and primer with superior coverage and durability. They offer many colors, so you can choose your favorite.
How to Paint a Light Fixture Step-by-Step
1. Remove the fixture from the ceiling or wall
Although we have seen instructions to mask a light fixture, we recommend removing it entirely from the surface it is attached to for ease of painting. It can be difficult to paint an attached fixture without over-spraying. This is a good time to remove fabric or glass shades from the fixture and light bulbs. Find a separate workspace to paint your fixture to allow for drying time.
2. Wipe down and clean the fixture
Clean the entire fixture’s metal surfaces with a damp cloth. At this point, you can sand the fixture lightly with a sanding block; however, we did not choose to do this for this particular fixture due to the existing chrome finish. If you use sandpaper, wipe down the fixture again with a damp microfiber cloth to remove any metal particles.
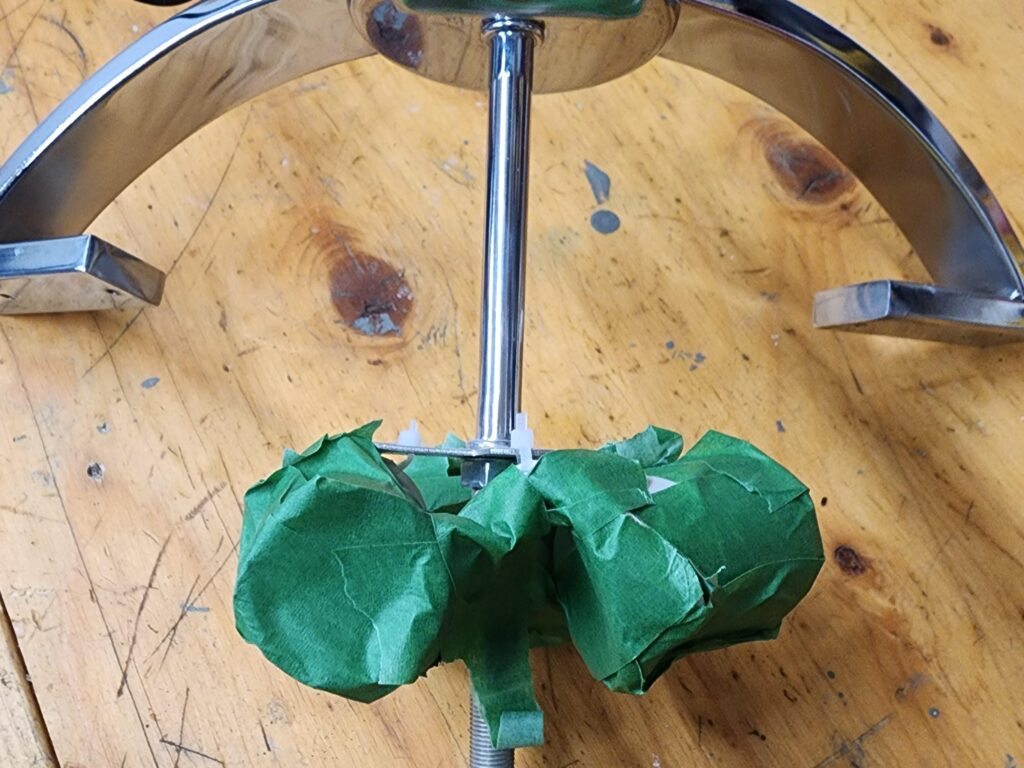
3. Mask parts of the fixture
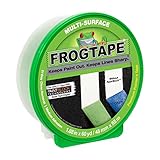
To avoid spray painting the electrical parts of the fixture, you can easily mask these with painter’s tape. You can also mask any part of the fixture you don’t want to paint.
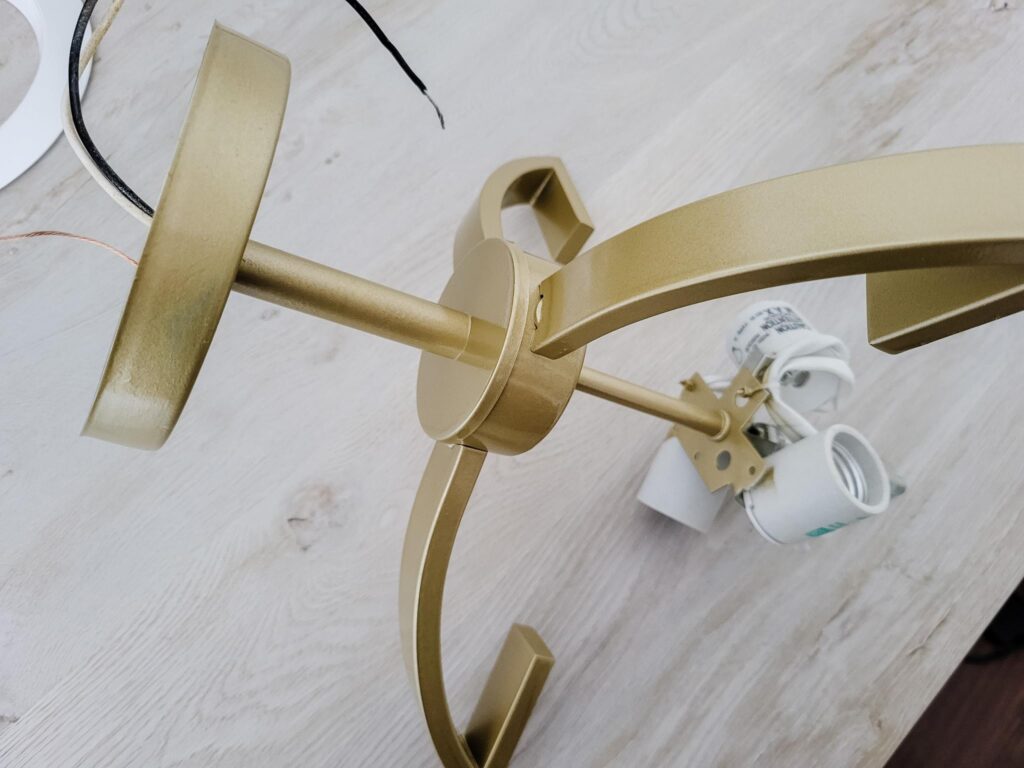
4. Paint the light fixture
Spray two light coats of paint with one hour between drying times. Once the metal is painted to your liking, you should let the paint dry for 24 hours before reinstalling.
5. Reinstall the light fixture
Reinstall the light fixture, including any shades. Screw in the light bulbs and enjoy the results of your project. It is always fun to take a before and after picture when doing any DIY.
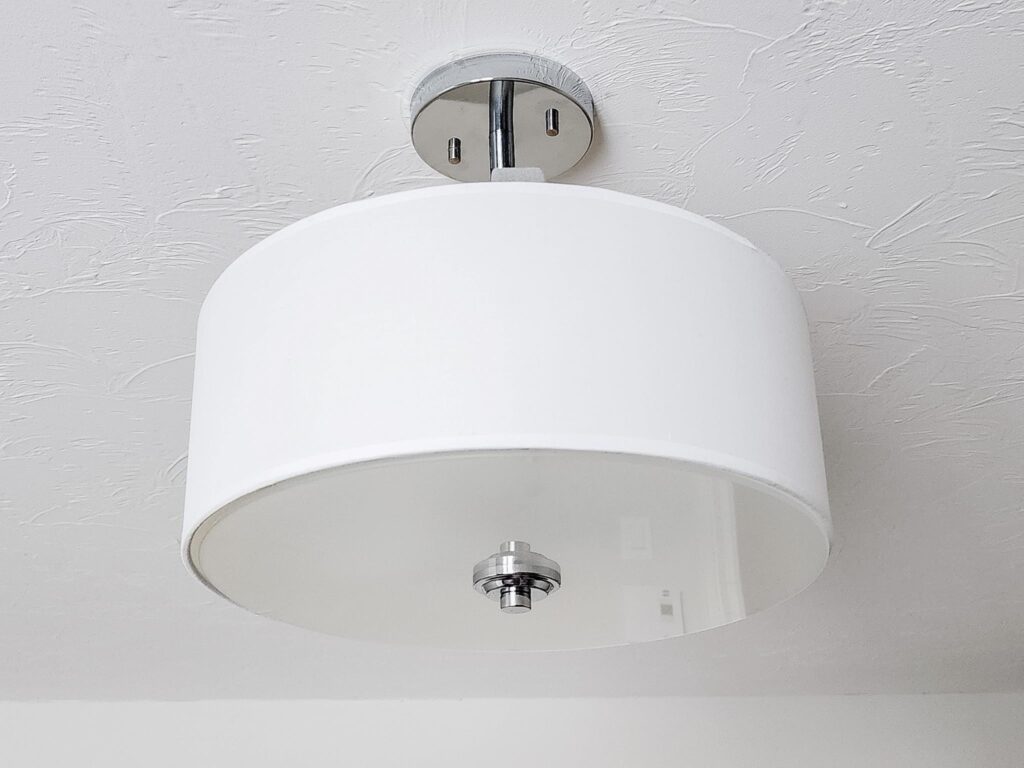

Searching for a similar fixture in the metal finish would cost $250 CDN to replace it. The paint cost $23 CDN, and we already had the tape and cloth on hand. This DIY project saved us over $200; I would do it again.
We hope this post gave you insight into how to paint a light fixture. The steps are simple, budget-friendly, and a very satisfying DIY project.

Our Favorite
DIY Projects




I did this with my fan blades in 3 rooms. I painted them to match the colors in each room. Always an easy and inexpensive option. Thank you for all the great tips and ideas in your blog.
Take care, Dale
That is a great idea! You’re welcome, so happy to hear you are enjoying the content.❤️
Amazing piece of content, Thanks for putting everything under one roof!